🎉 BOGO Summer Sale: Buy Any Eligible Course, Choose Another FREE!
Your free course will be added to your account within 24 hours. Contact us after purchase to choose your complimentary course.
Member's schedule
Log In

Right-click and open in a new tab to enlarge and print.
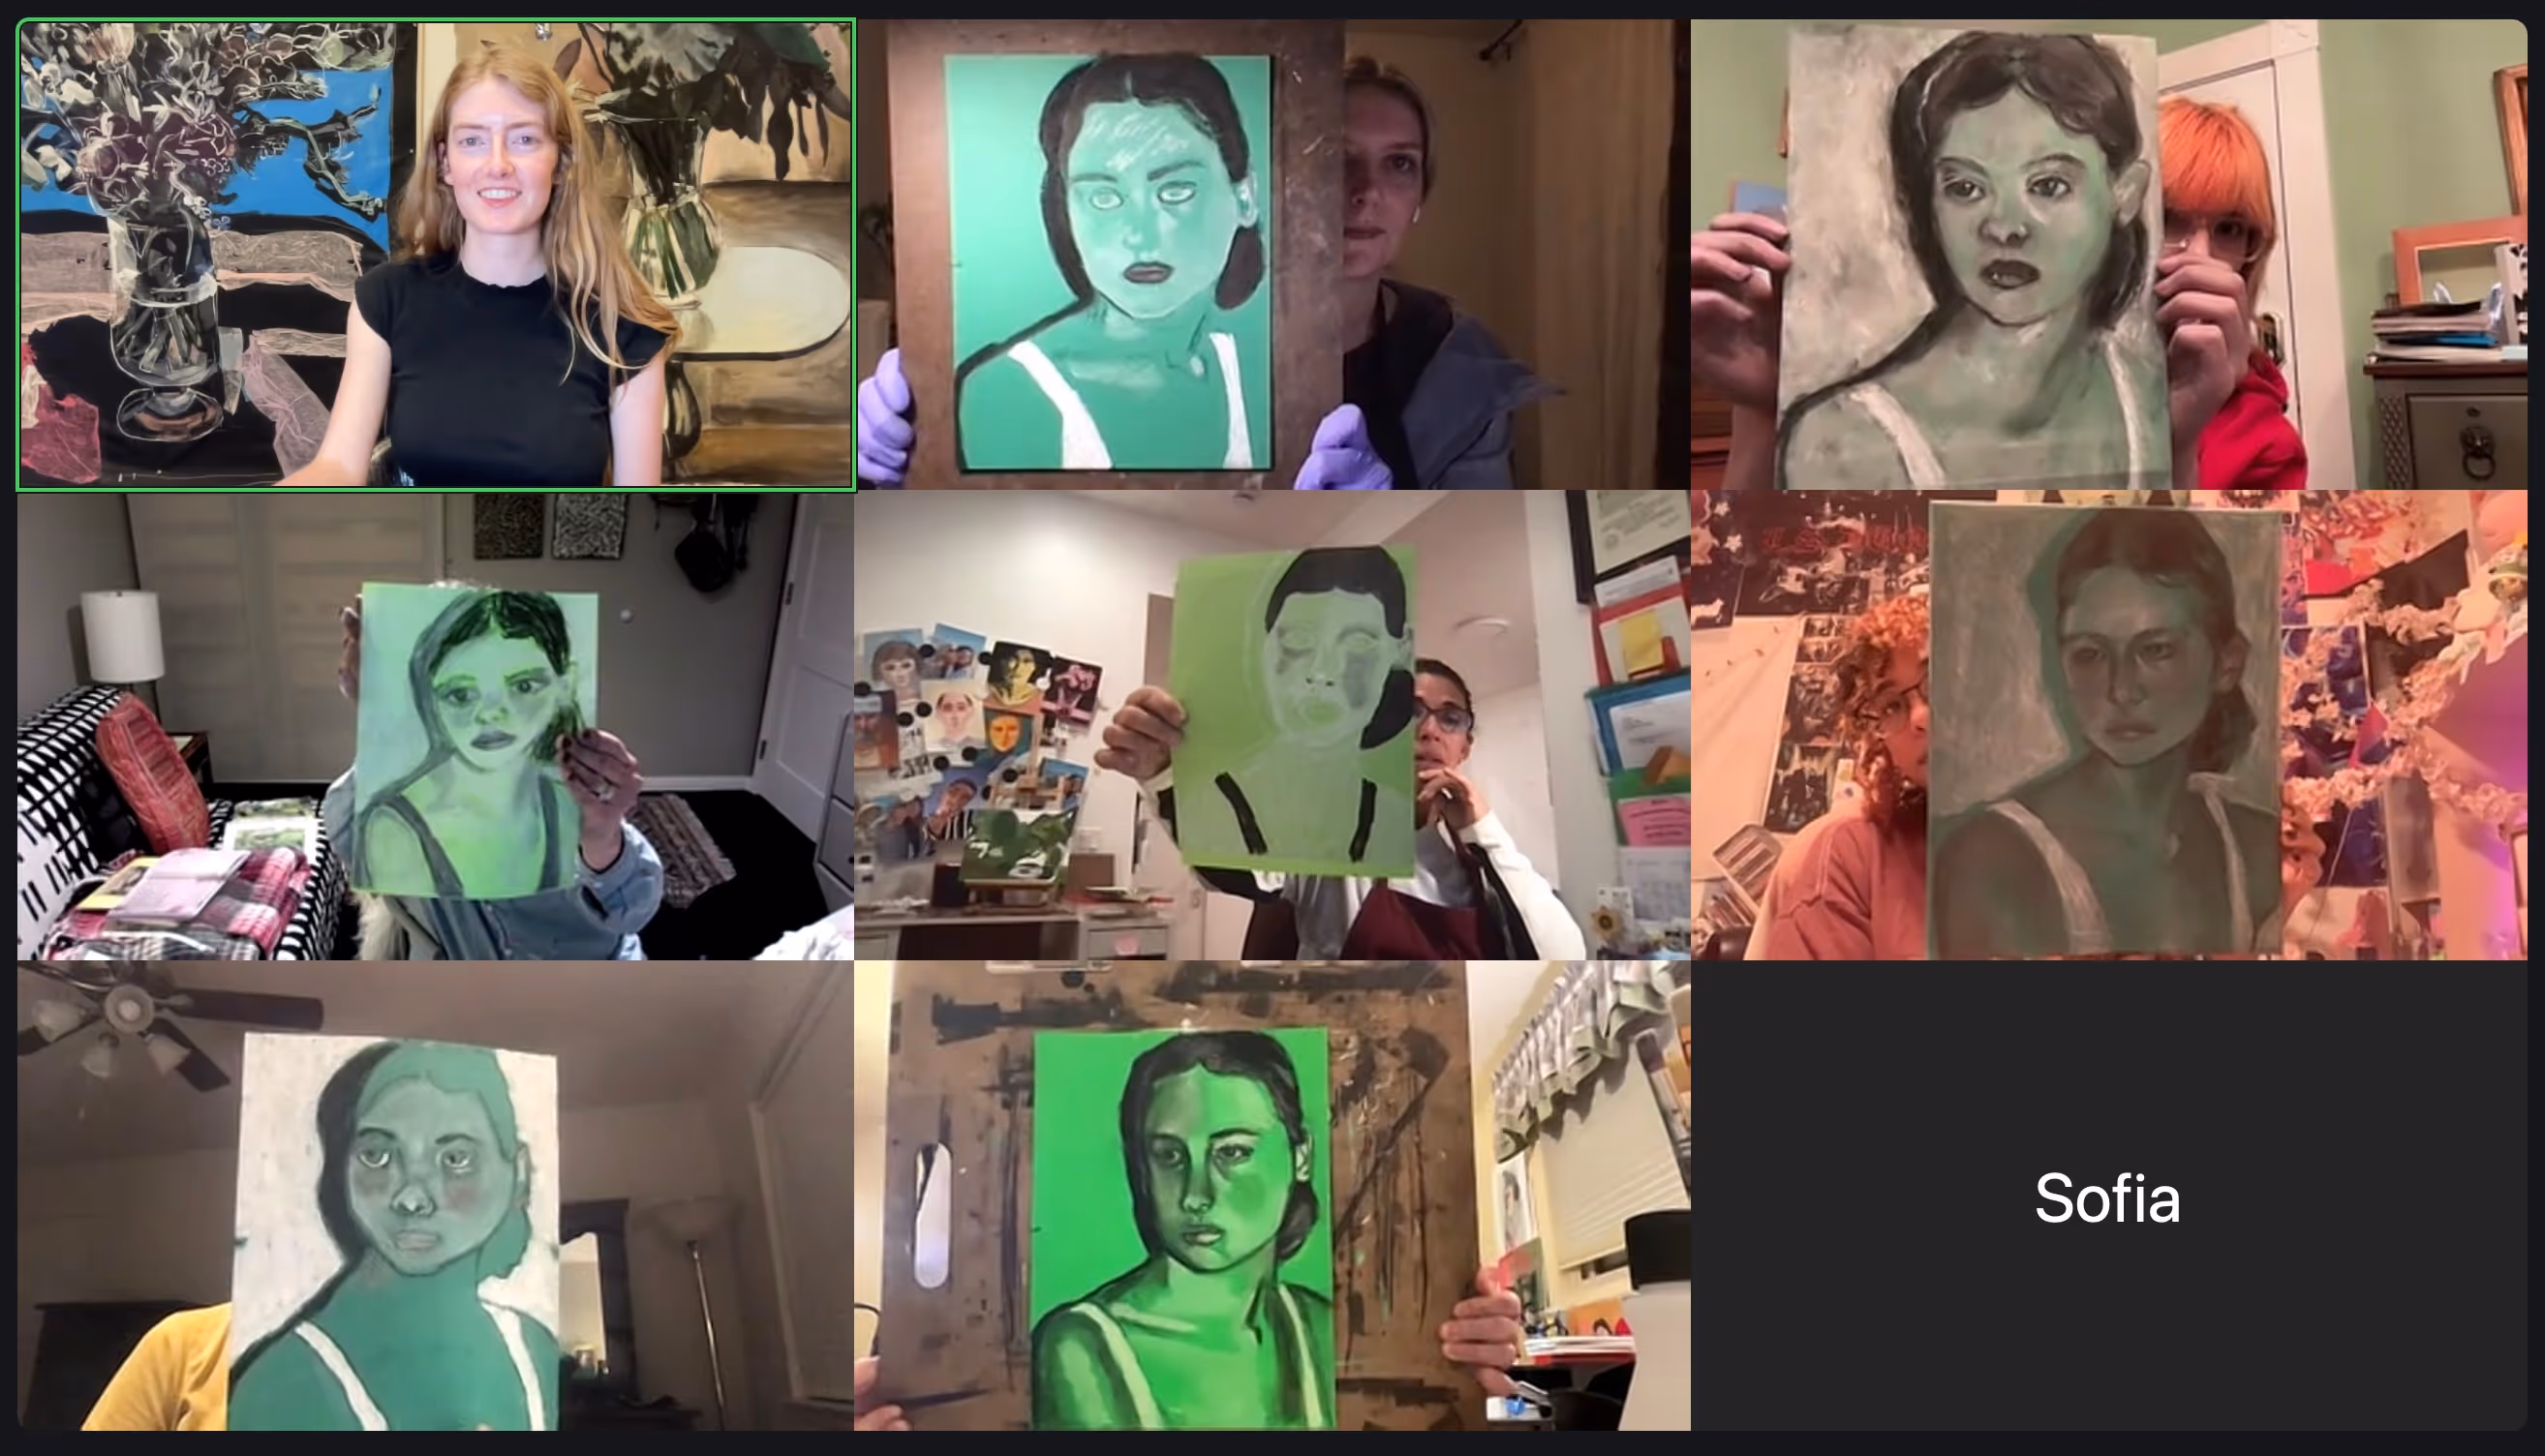
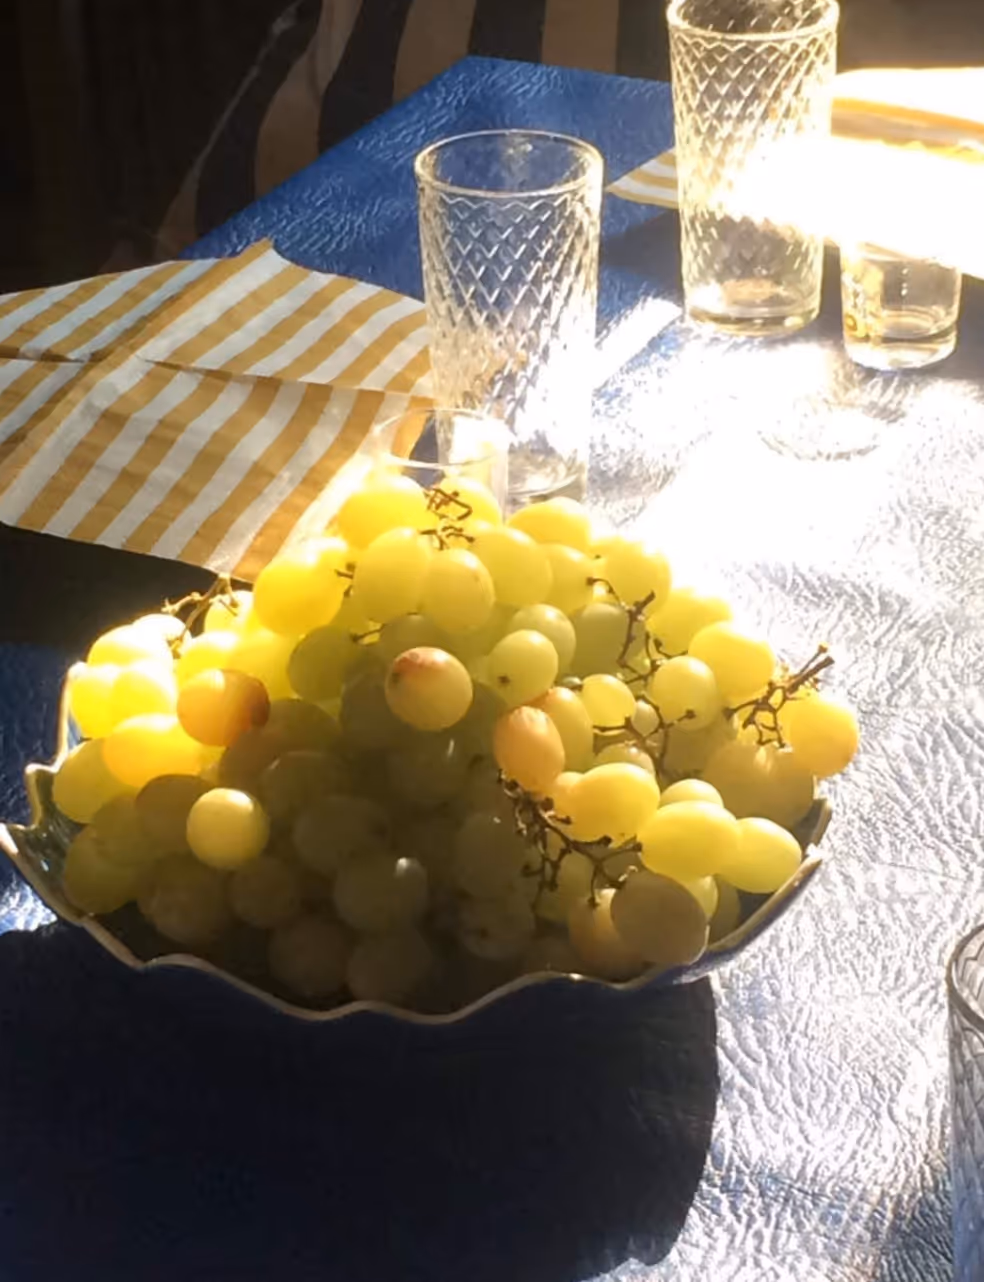
Finish your drawing on green paper if you haven't already. Review notes from the previous classes to get reminders on what to focus on and what to do to achieve the simultaneous contrast illusion.
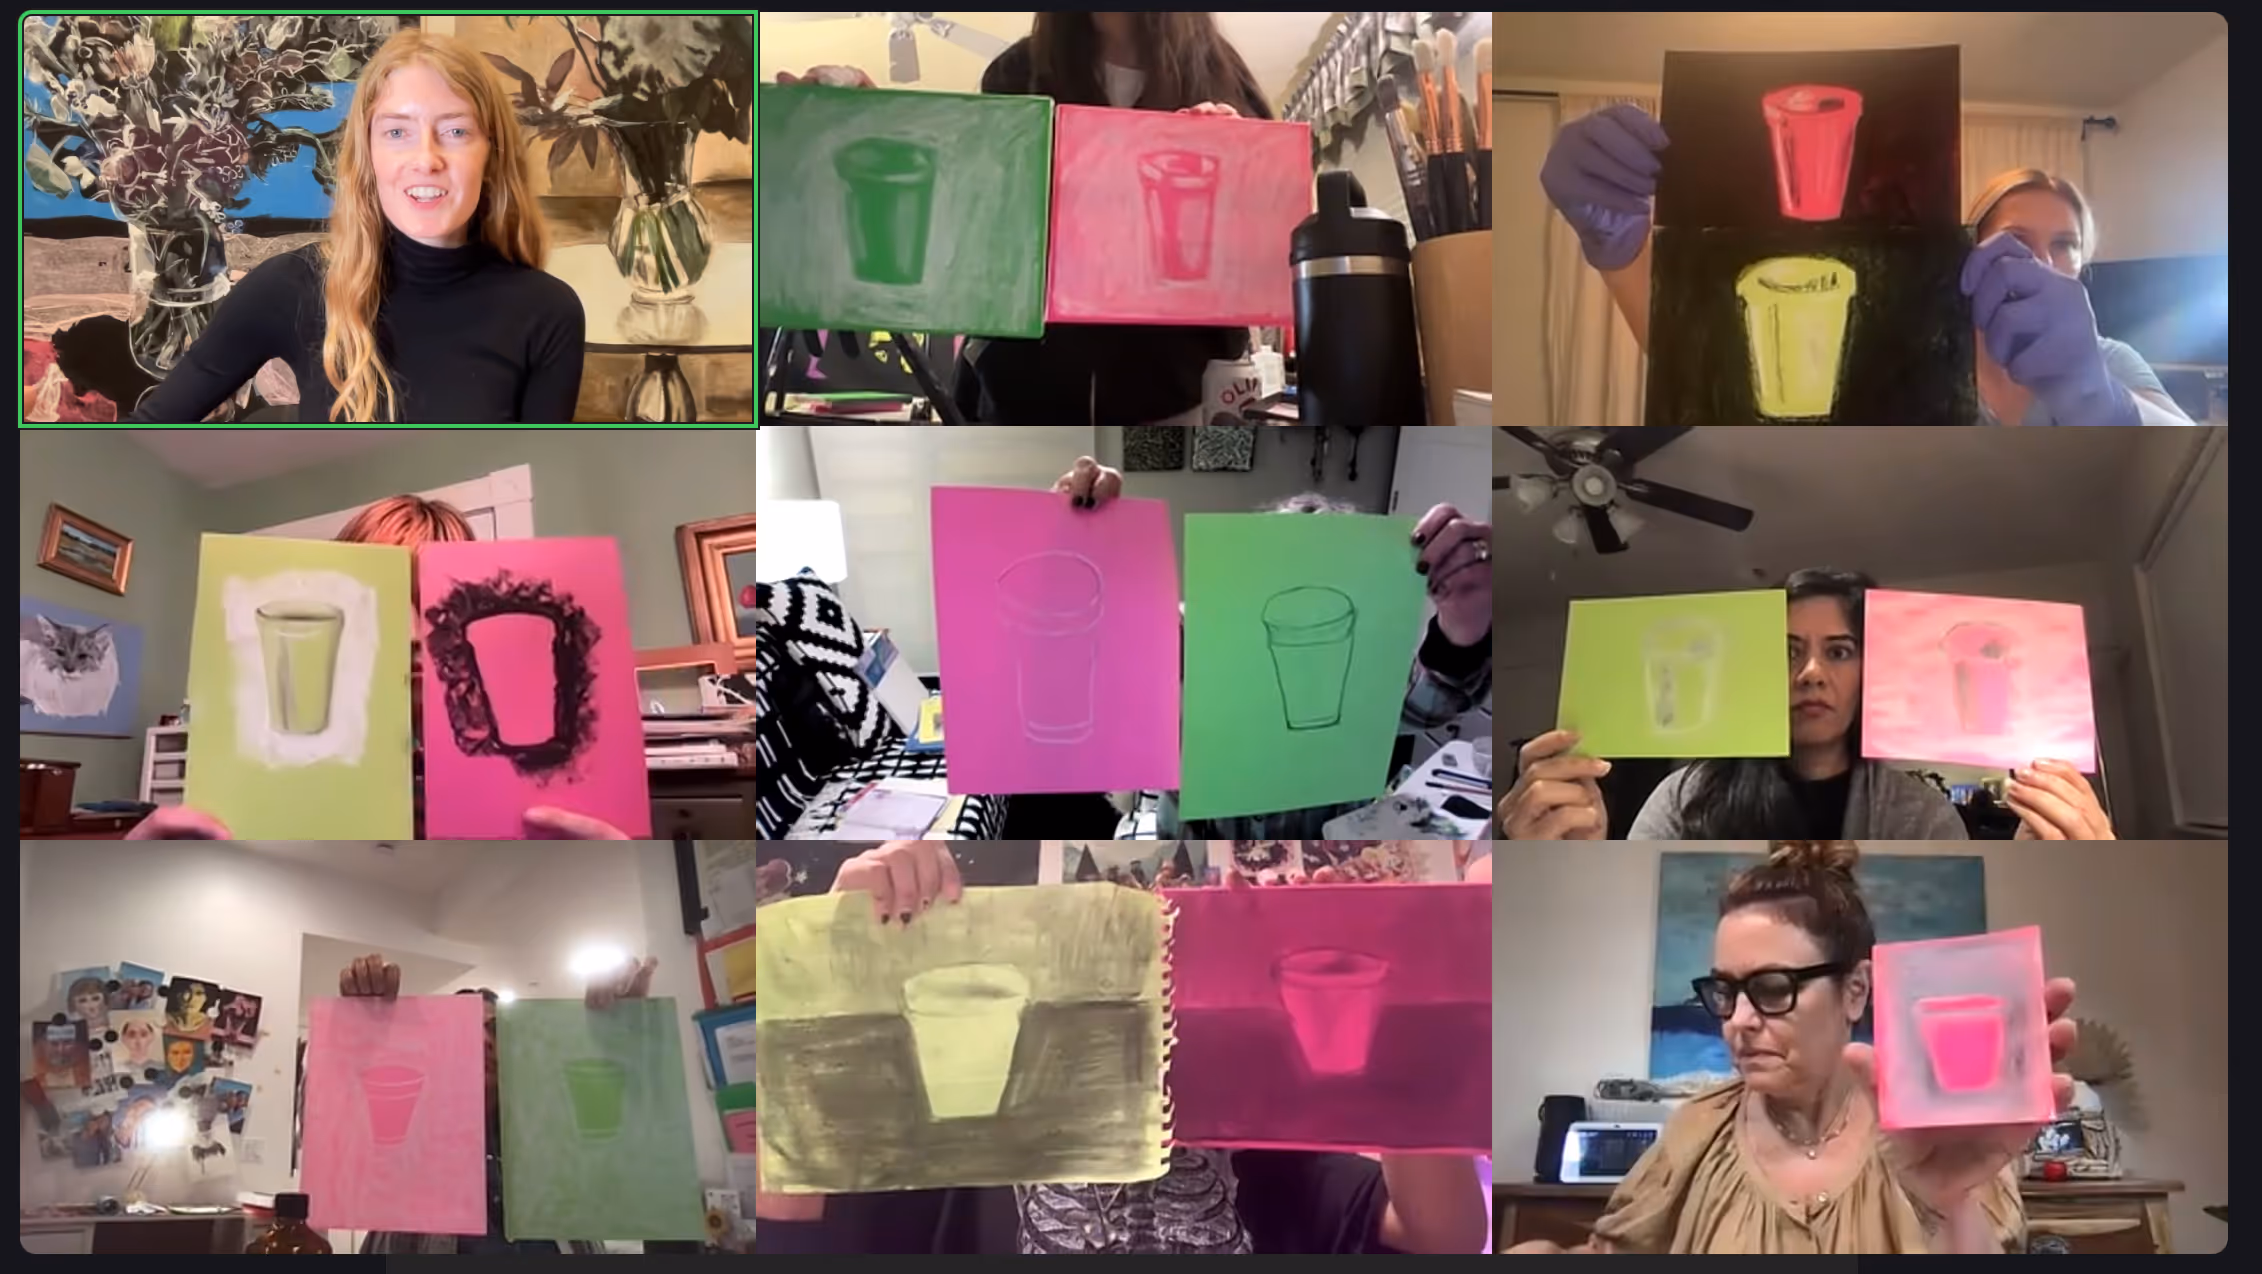
For week 6, prepare two sheets of neon green paper and two sheets of neon pink paper (four sheets in all).
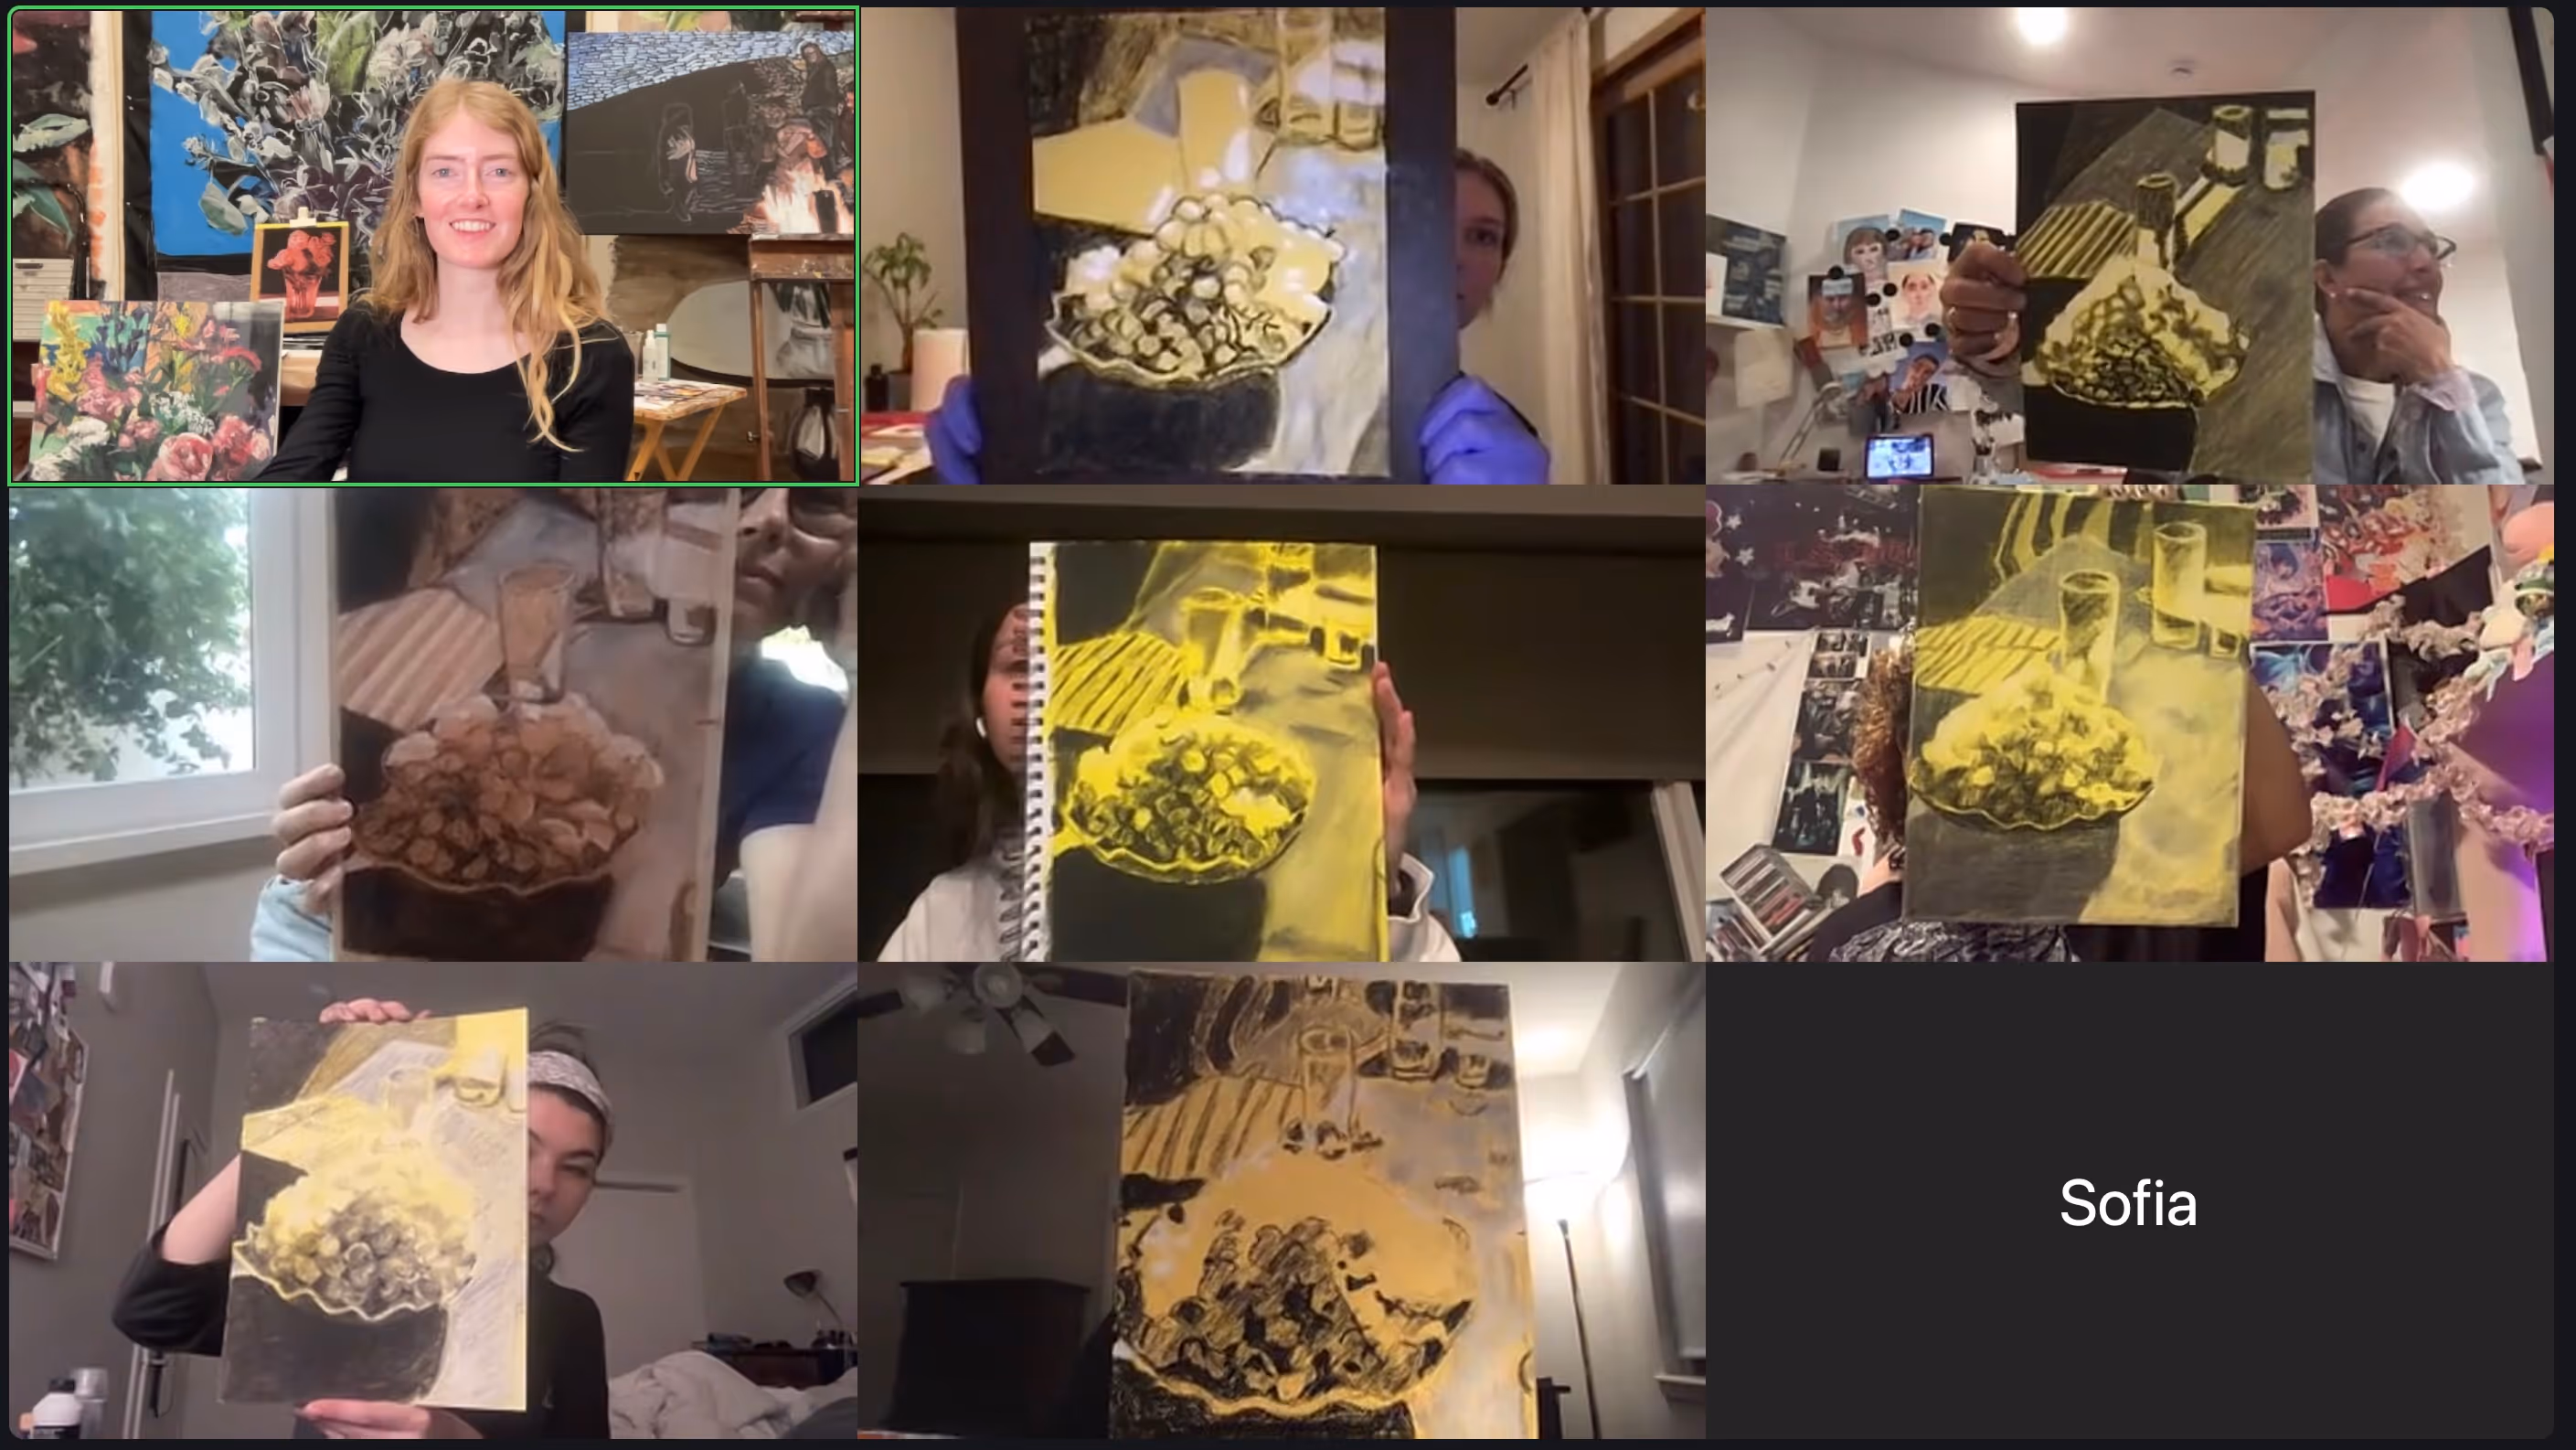
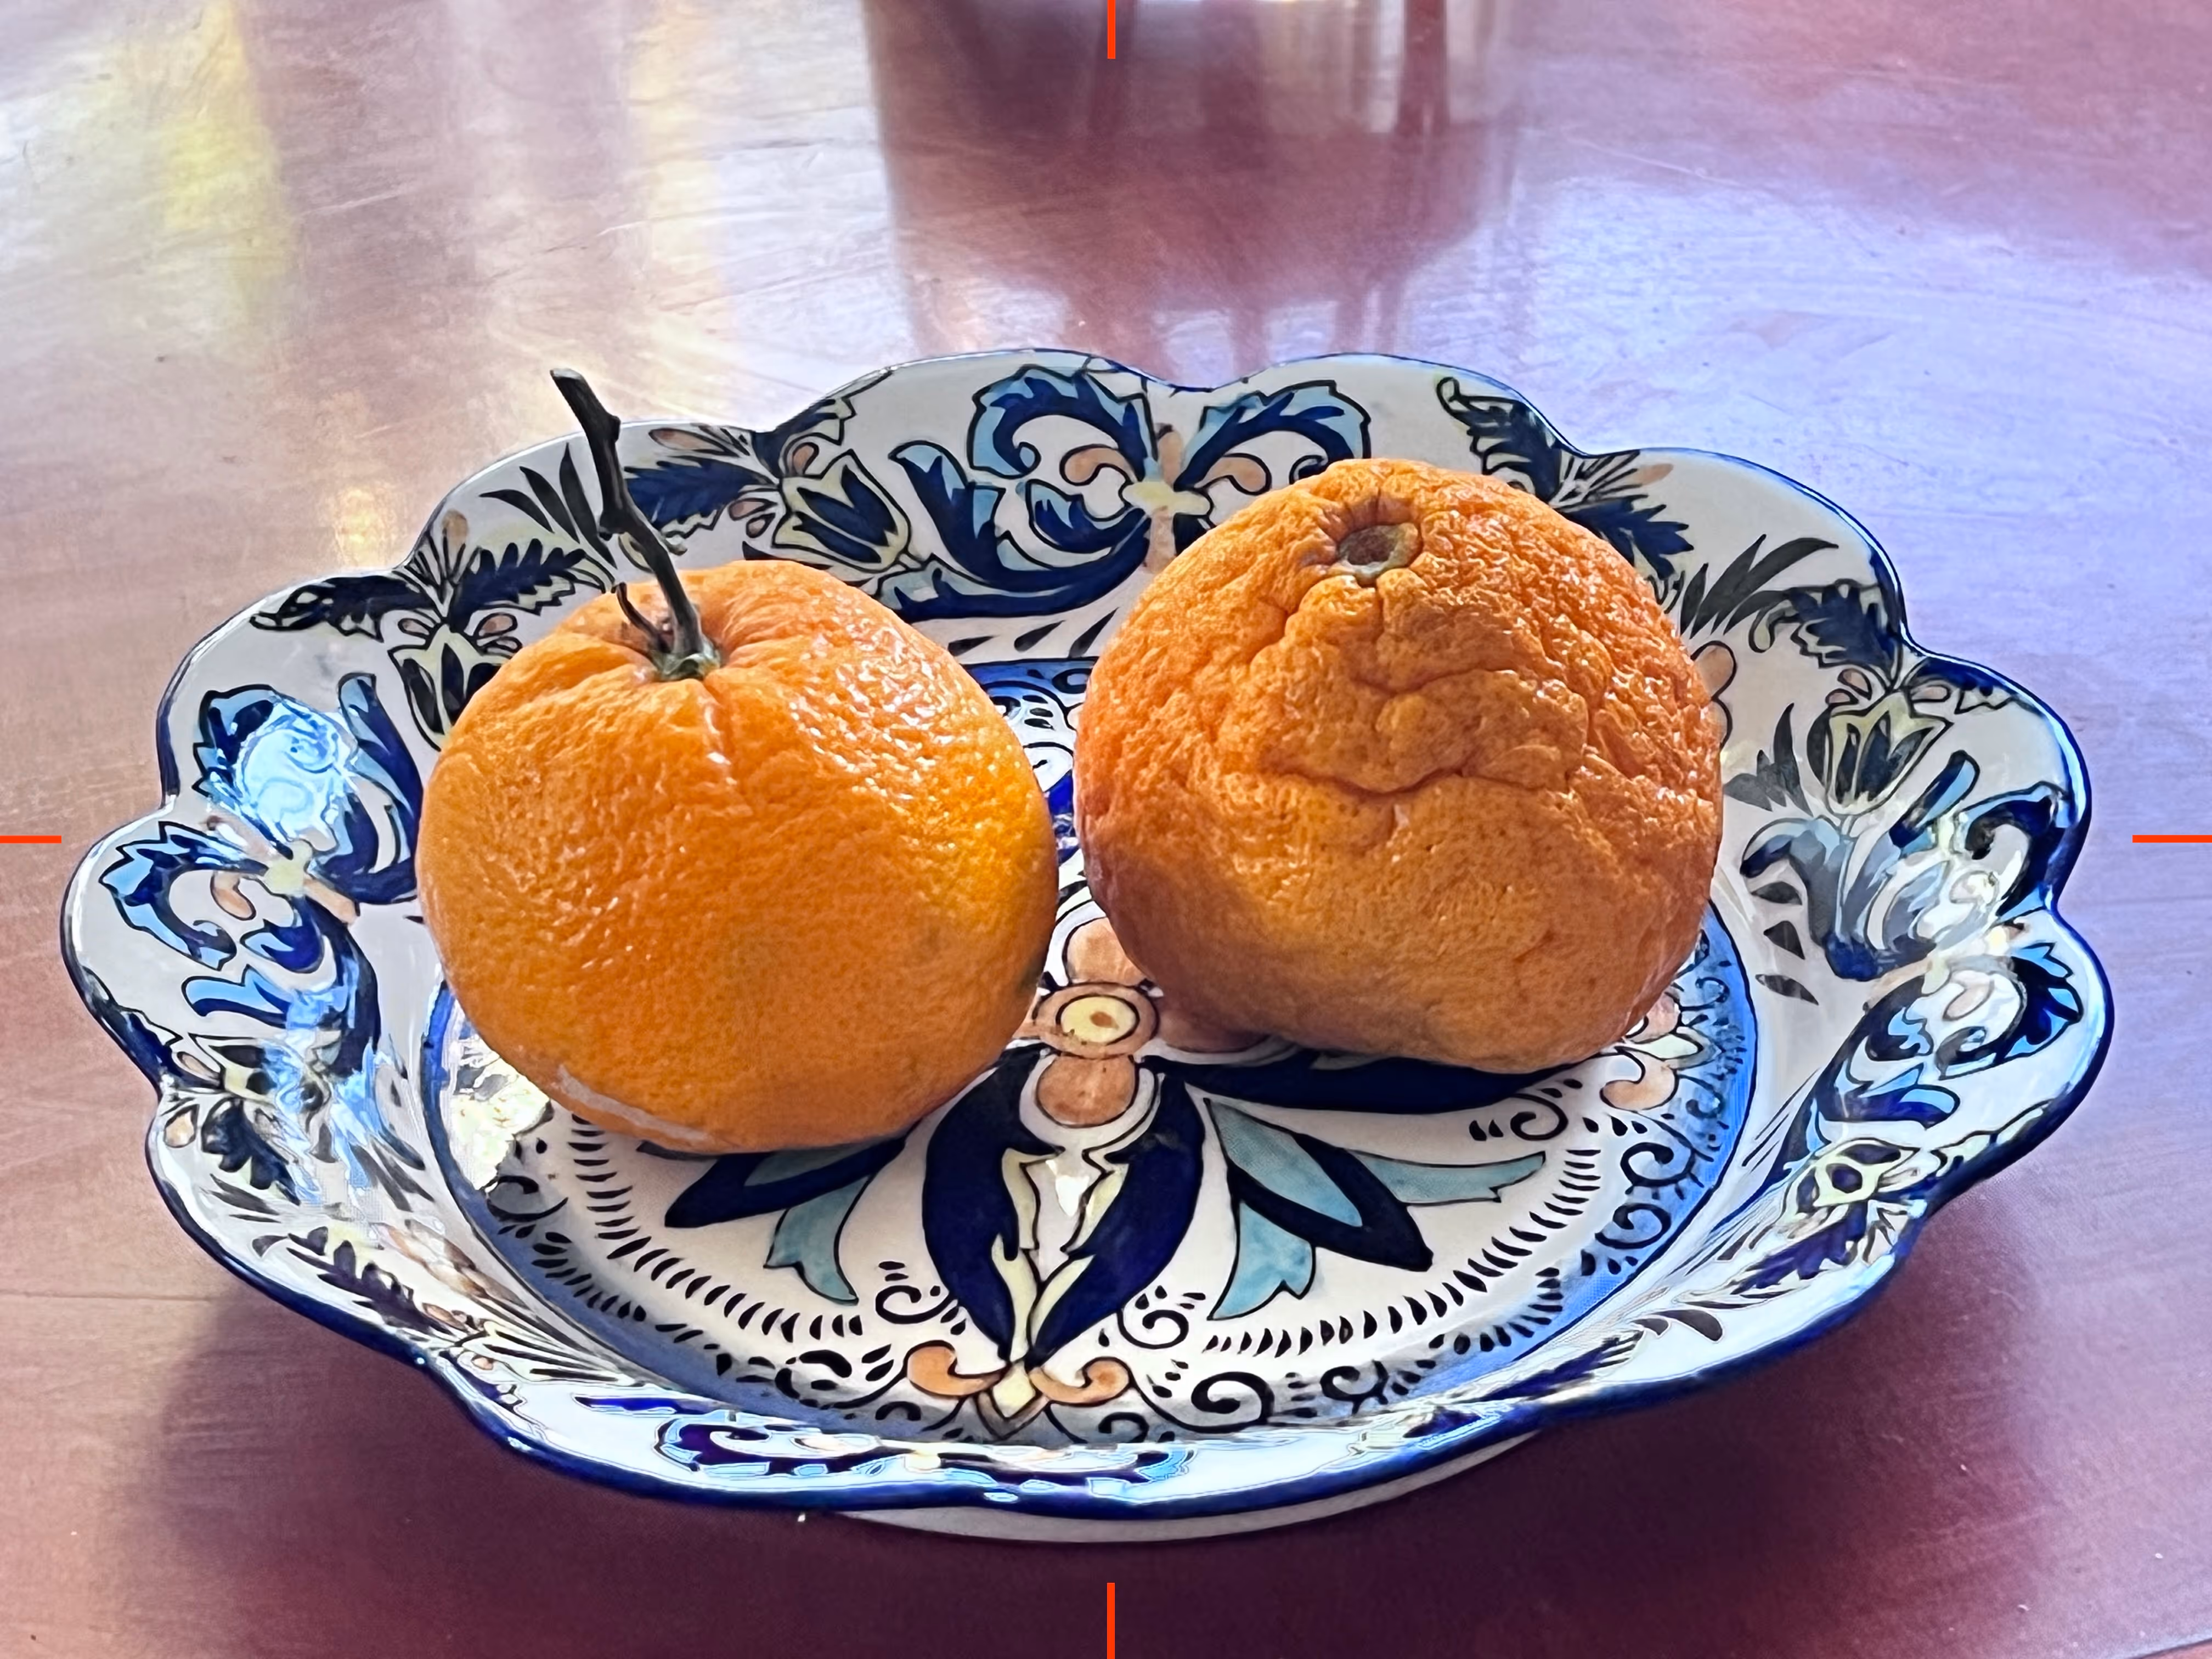
Finish your drawing on yellow paper if you haven't already.
Remember that the illusion will only occur if these two things happen simultaneously:
For week 5, prepare a piece of green paper.
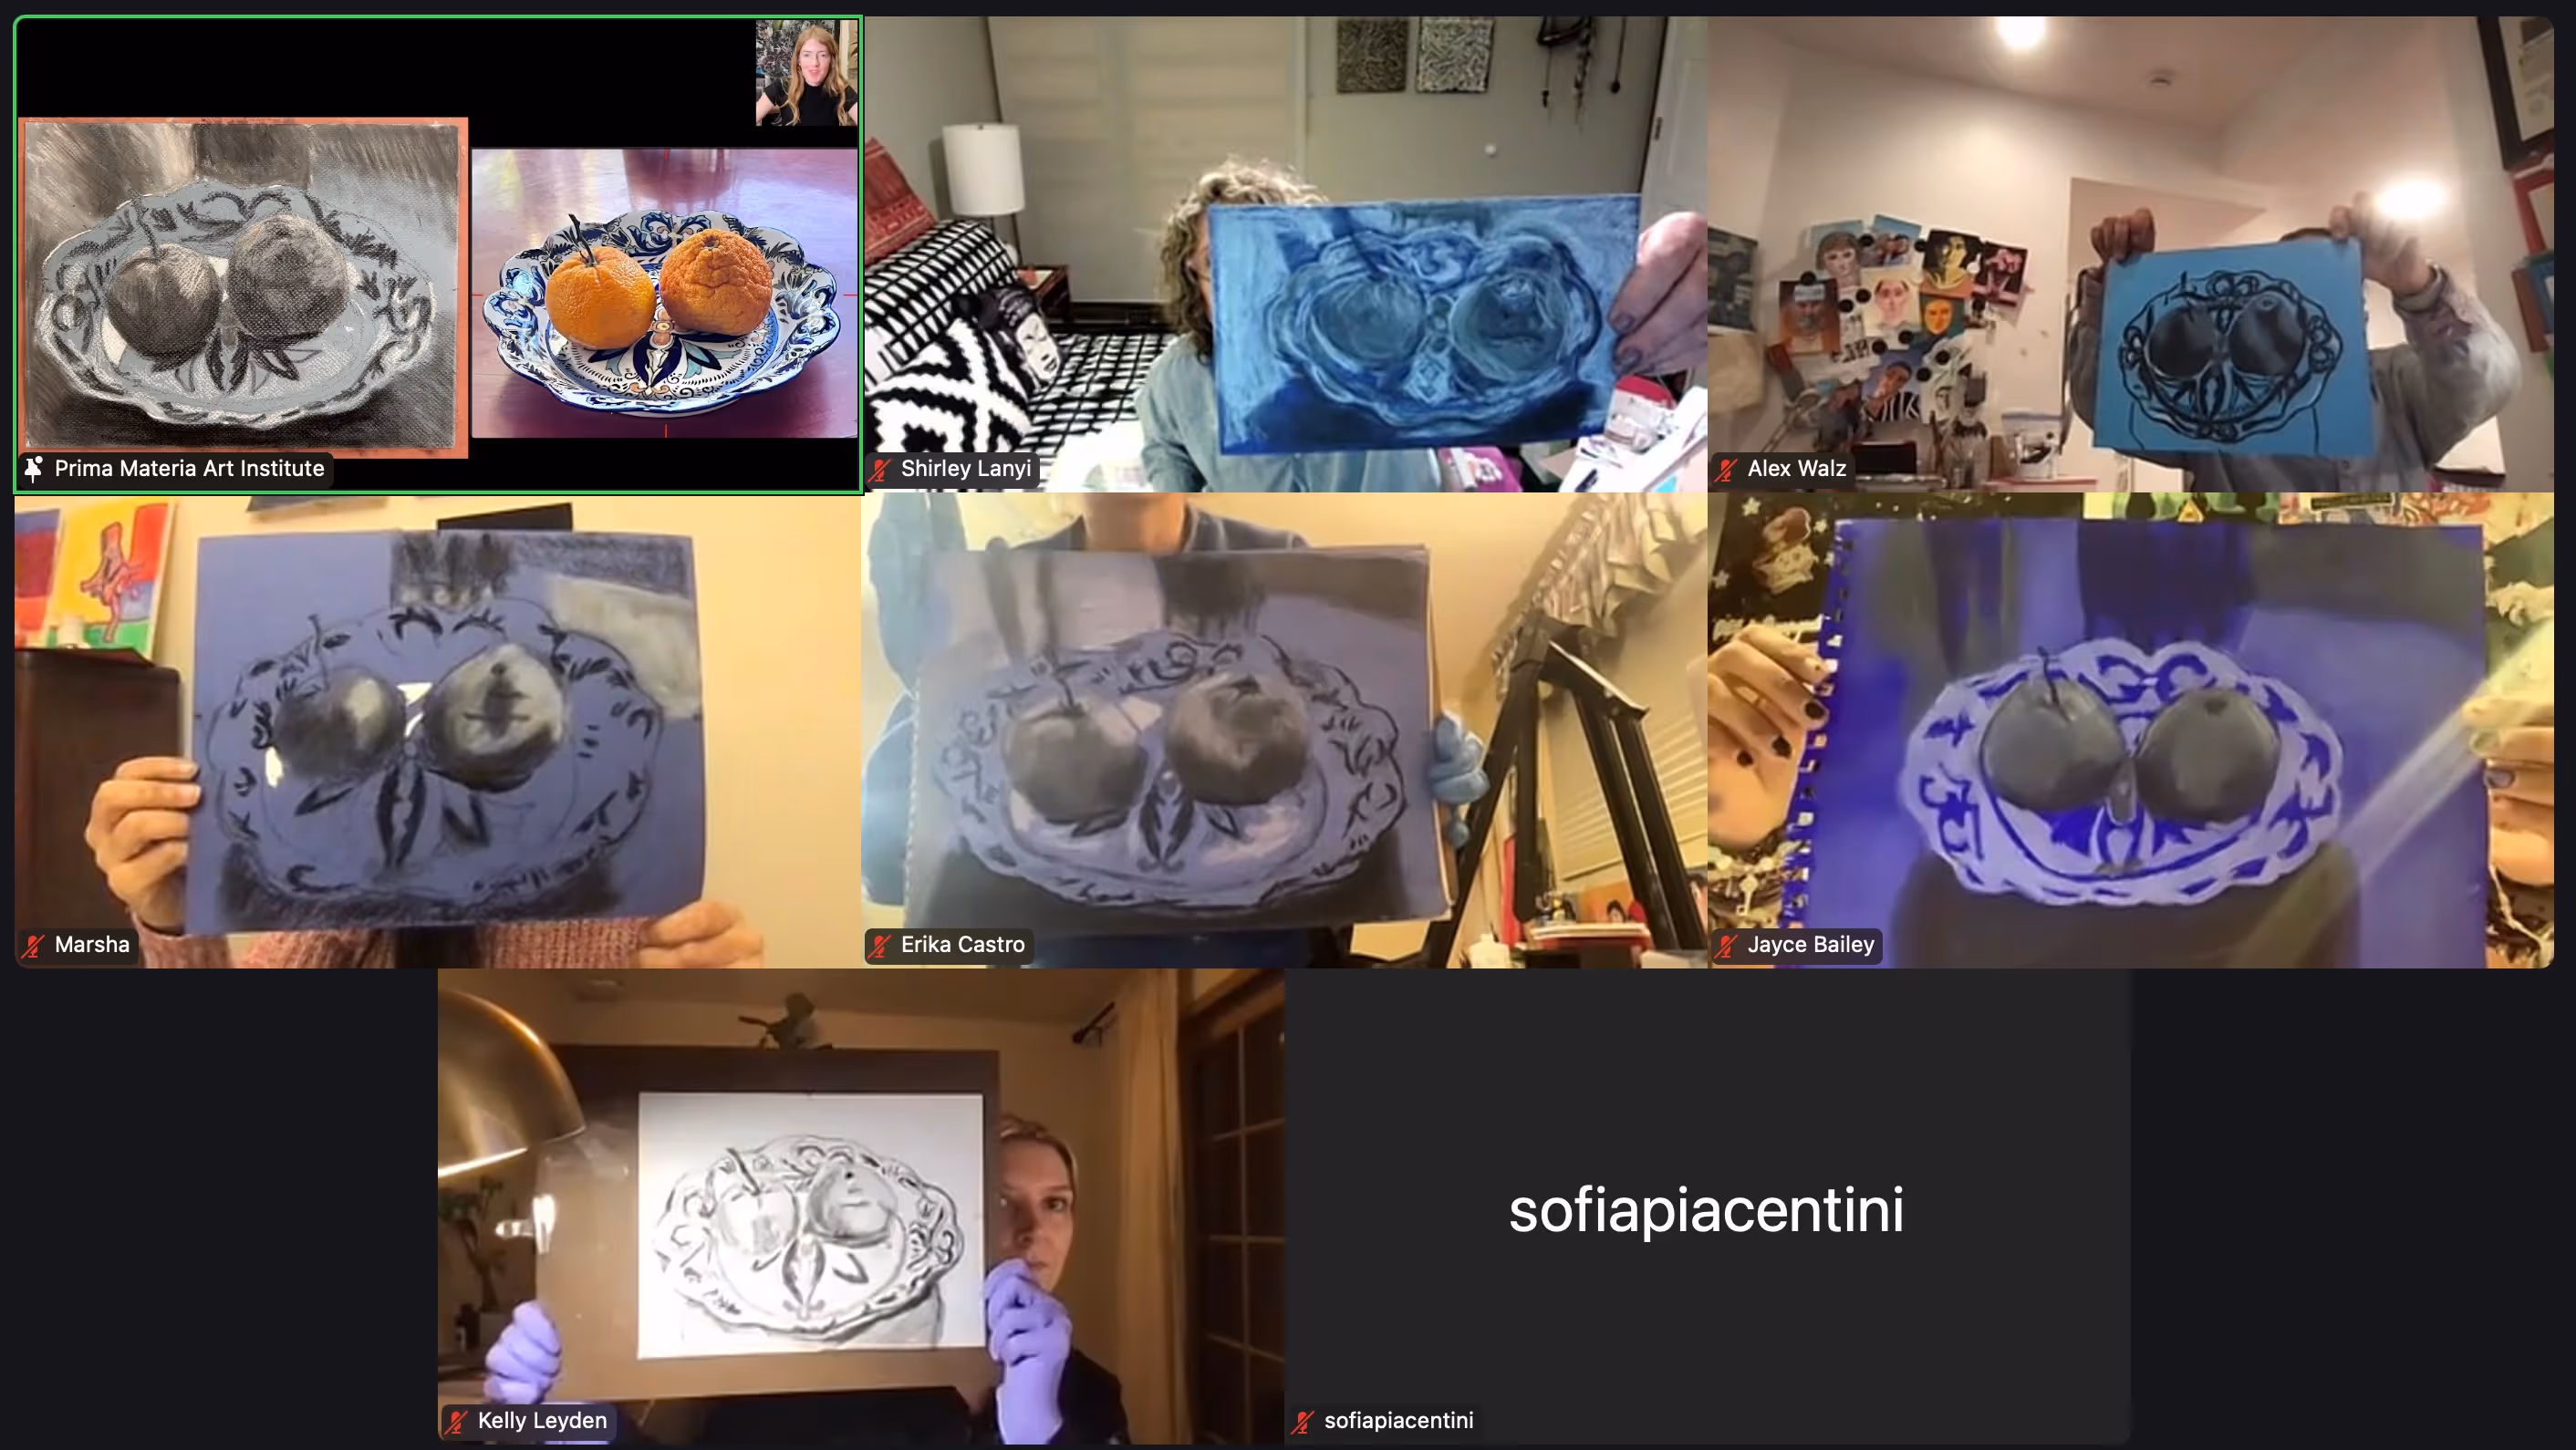
Finish your drawing on blue paper if you haven't already.
Simultaneous contrast: An optical illusion; the perception of a color changes based on its environment.
How to achieve simultaneous contrast in your drawing on toned paper:
For week 4, prepare a piece of yellow paper.
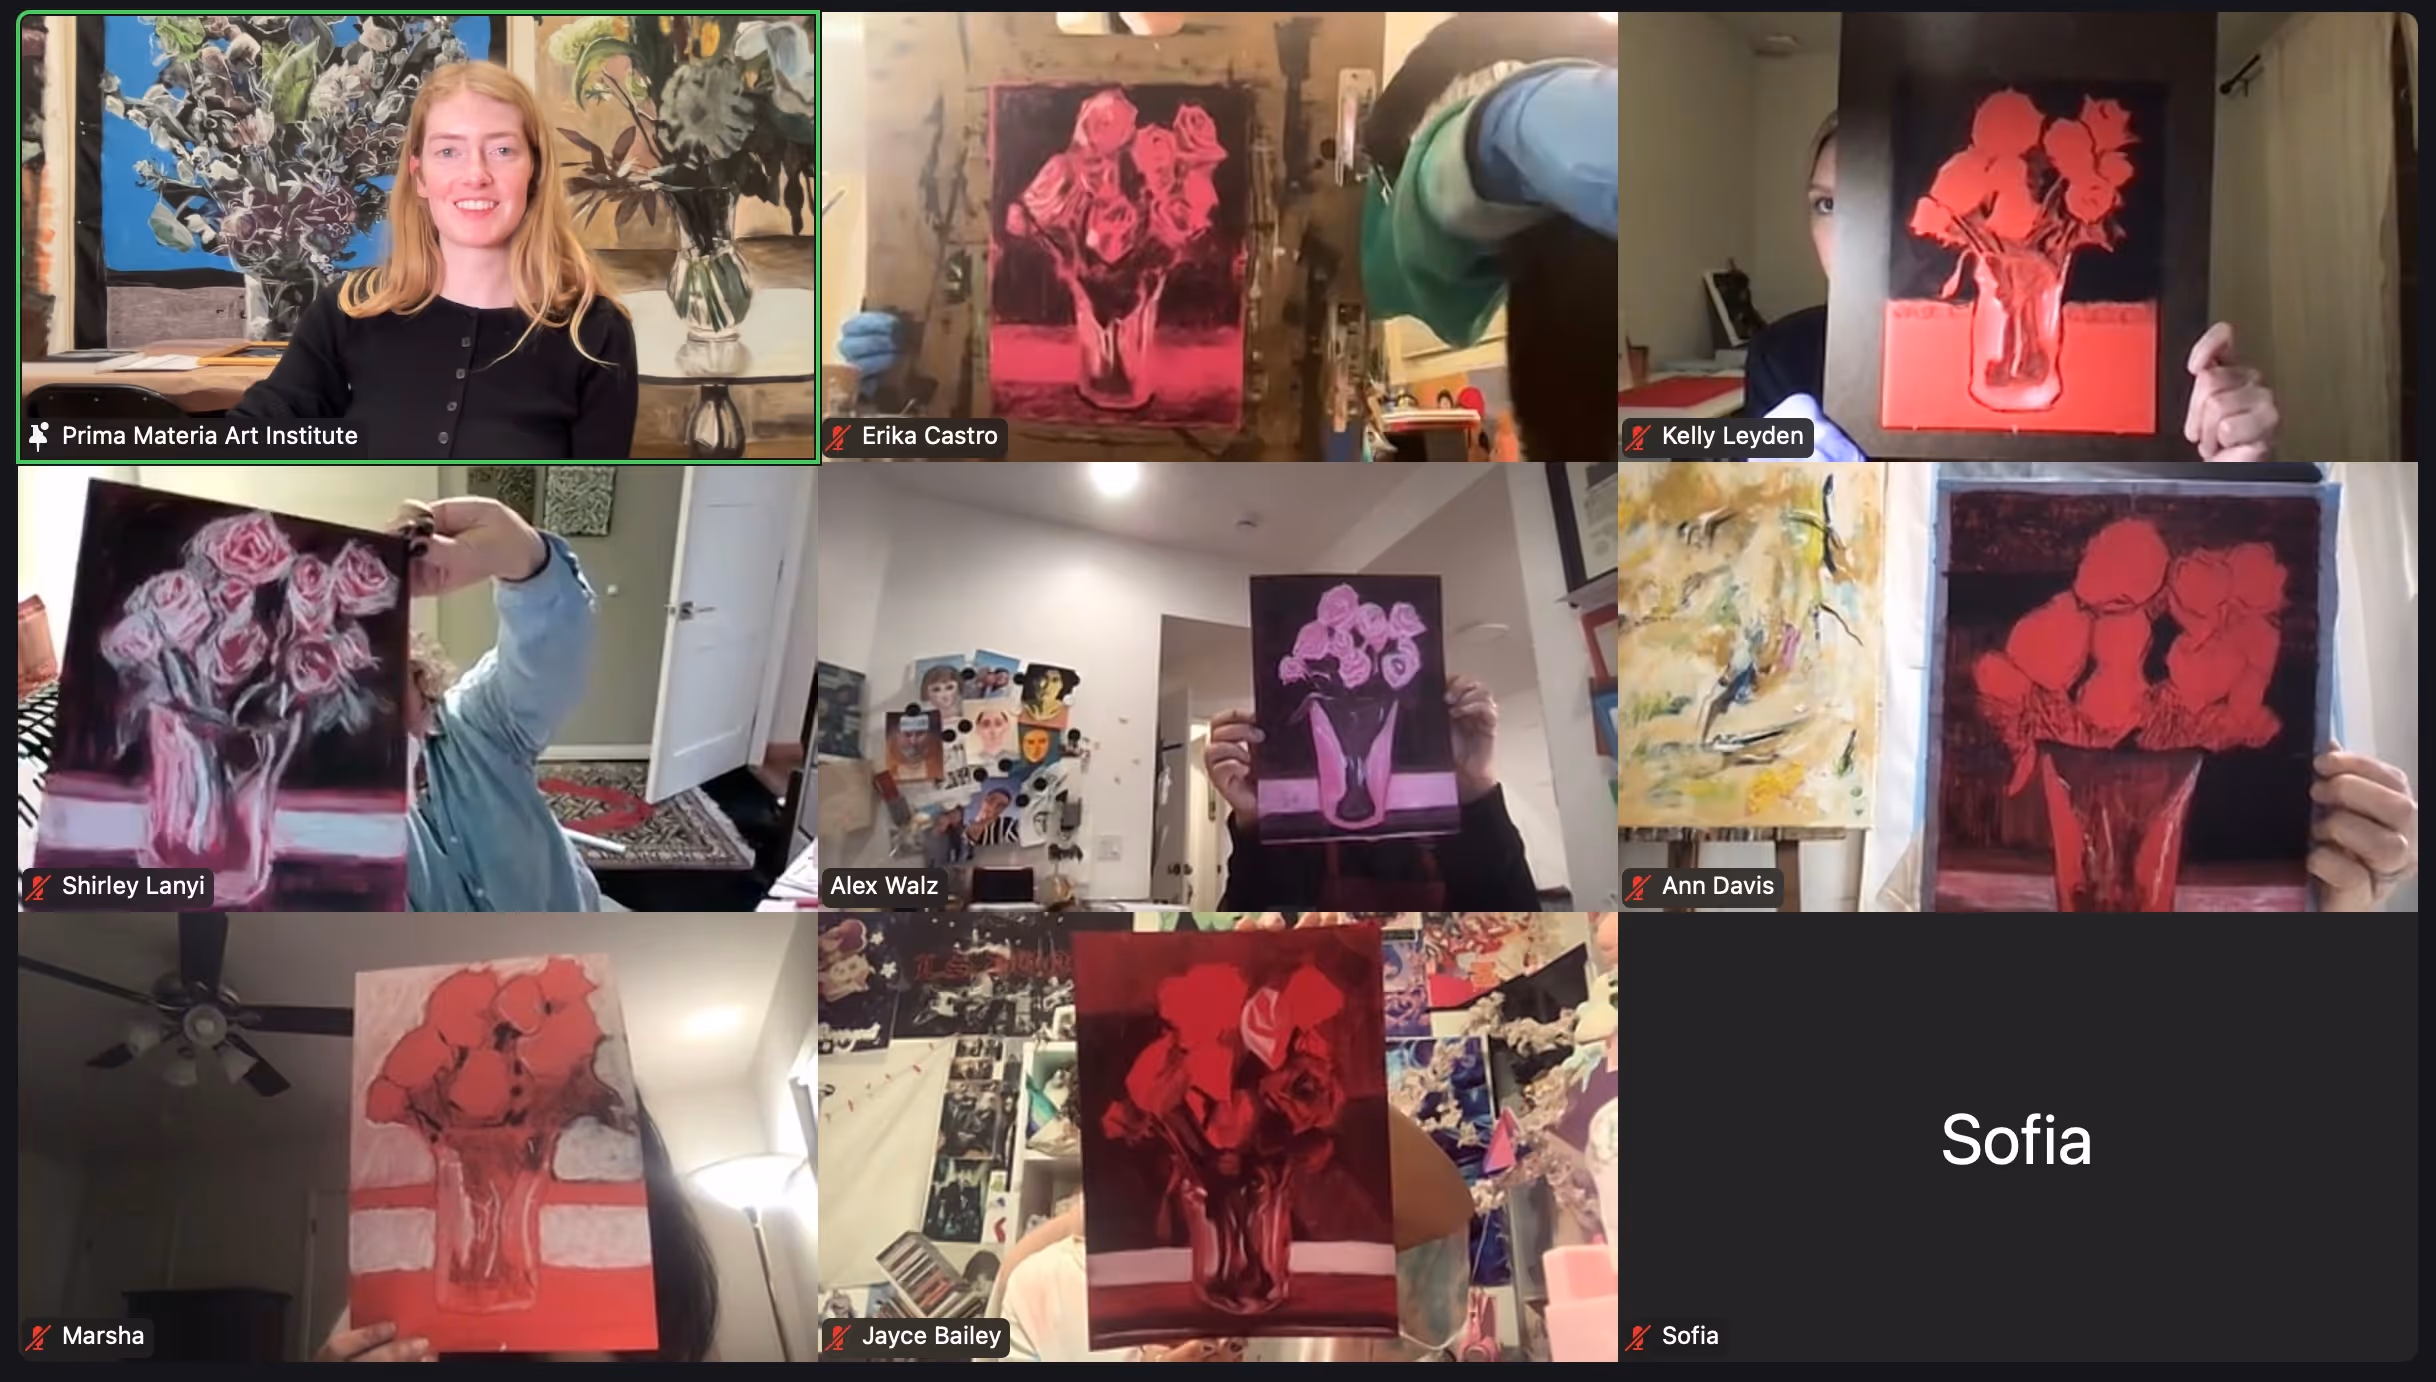
Finish your drawing on red paper if you haven't already.
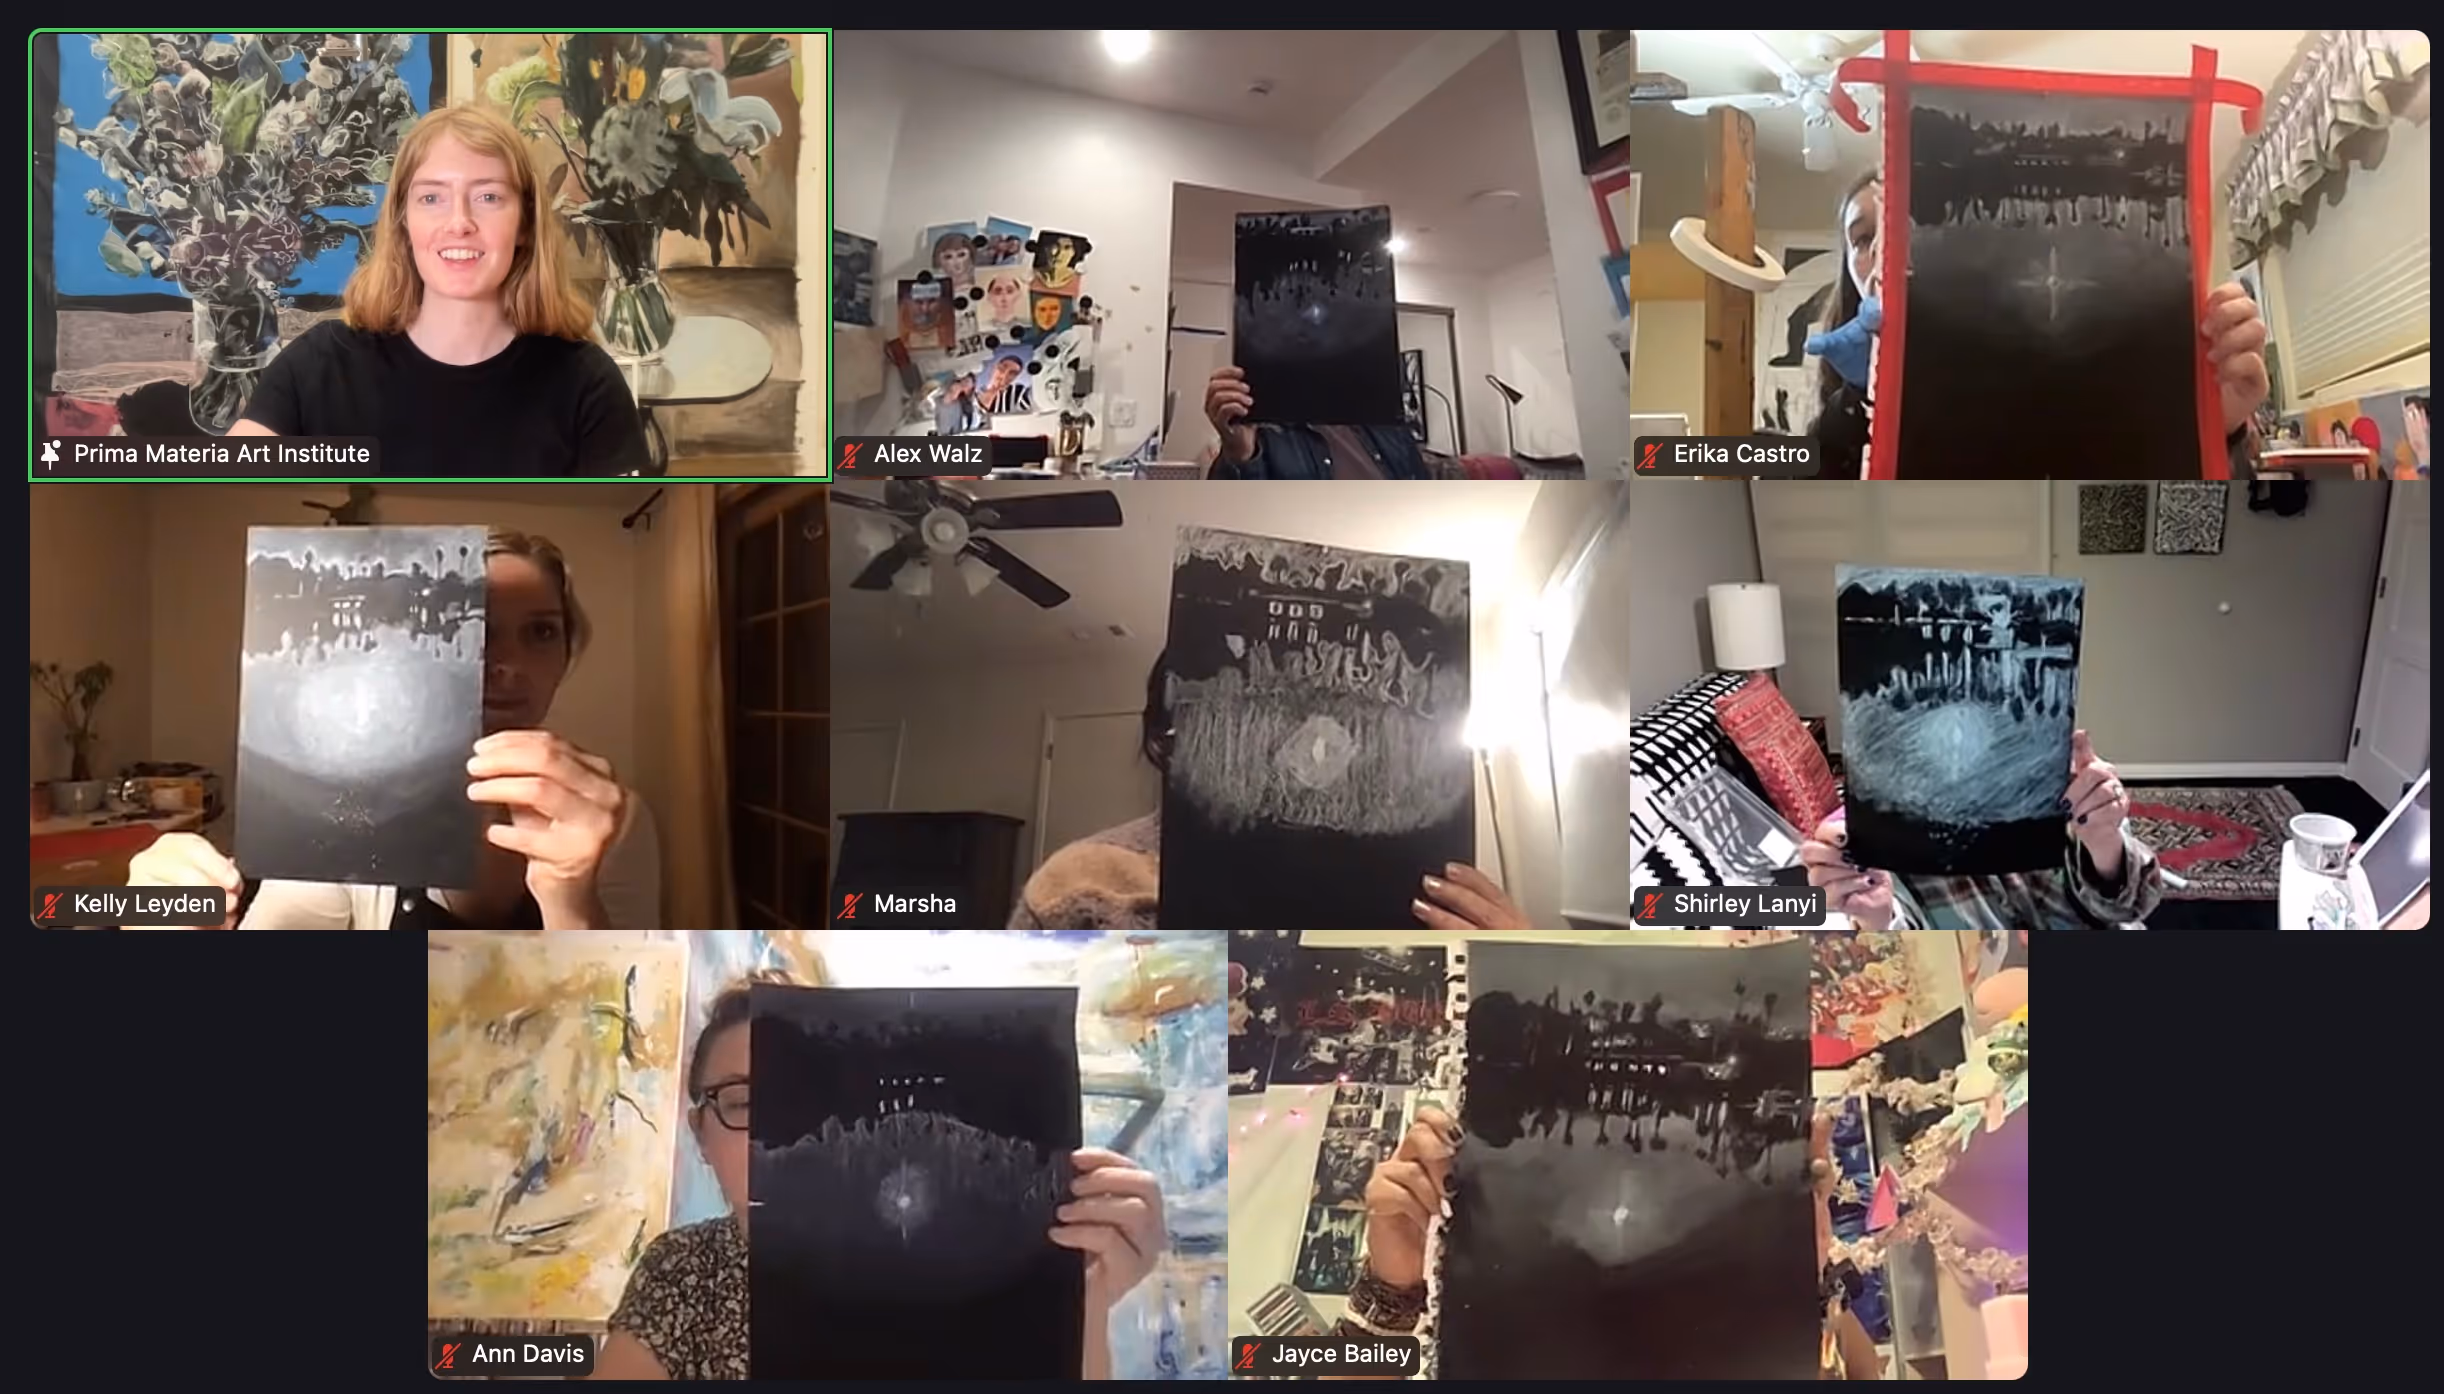
When drawing with black and white on toned paper:
Before week 3, prepare a piece of blue paper. It can be bright blue, baby blue, prussian blue, as long as you can see both black and white.
Finish your drawing on black paper if you haven't already.
What to keep in mind:
Before week 2, prepare a piece of red paper. Your red can be bright red, pinkish, orangish, pale. Just make sure you can visibly see both white and black on whatever shade of red. If you're painting paper, paint it at least 24 hours before the class.
Want a closer look? Right-click and open in a new tab to view.