🎉 BOGO Summer Sale: Buy Any Eligible Course, Choose Another FREE!
Your free course will be added to your account within 24 hours. Contact us after purchase to choose your complimentary course.
Member's schedule
Log In
Right-click and open in a new tab to enlarge and print.
In a fauve painting, finishing touches aren't necessarily tiny details - it's making sure the colors are right. It may mean painting over areas you've already painted. All for the sake of making the colors "like charges of dynamite."
Click here to read the letter by Matisse. A ton of wisdom is packed into it! Read it over and over again.
Begin your new painting. You can either work from the photo references sent out, or choose your own image. Find a picture that has a lot of color in the lights and in the shadows. The way to know if the photo is good for this lesson is, if you look, can you already imagine how you would paint it in the fauve approach?
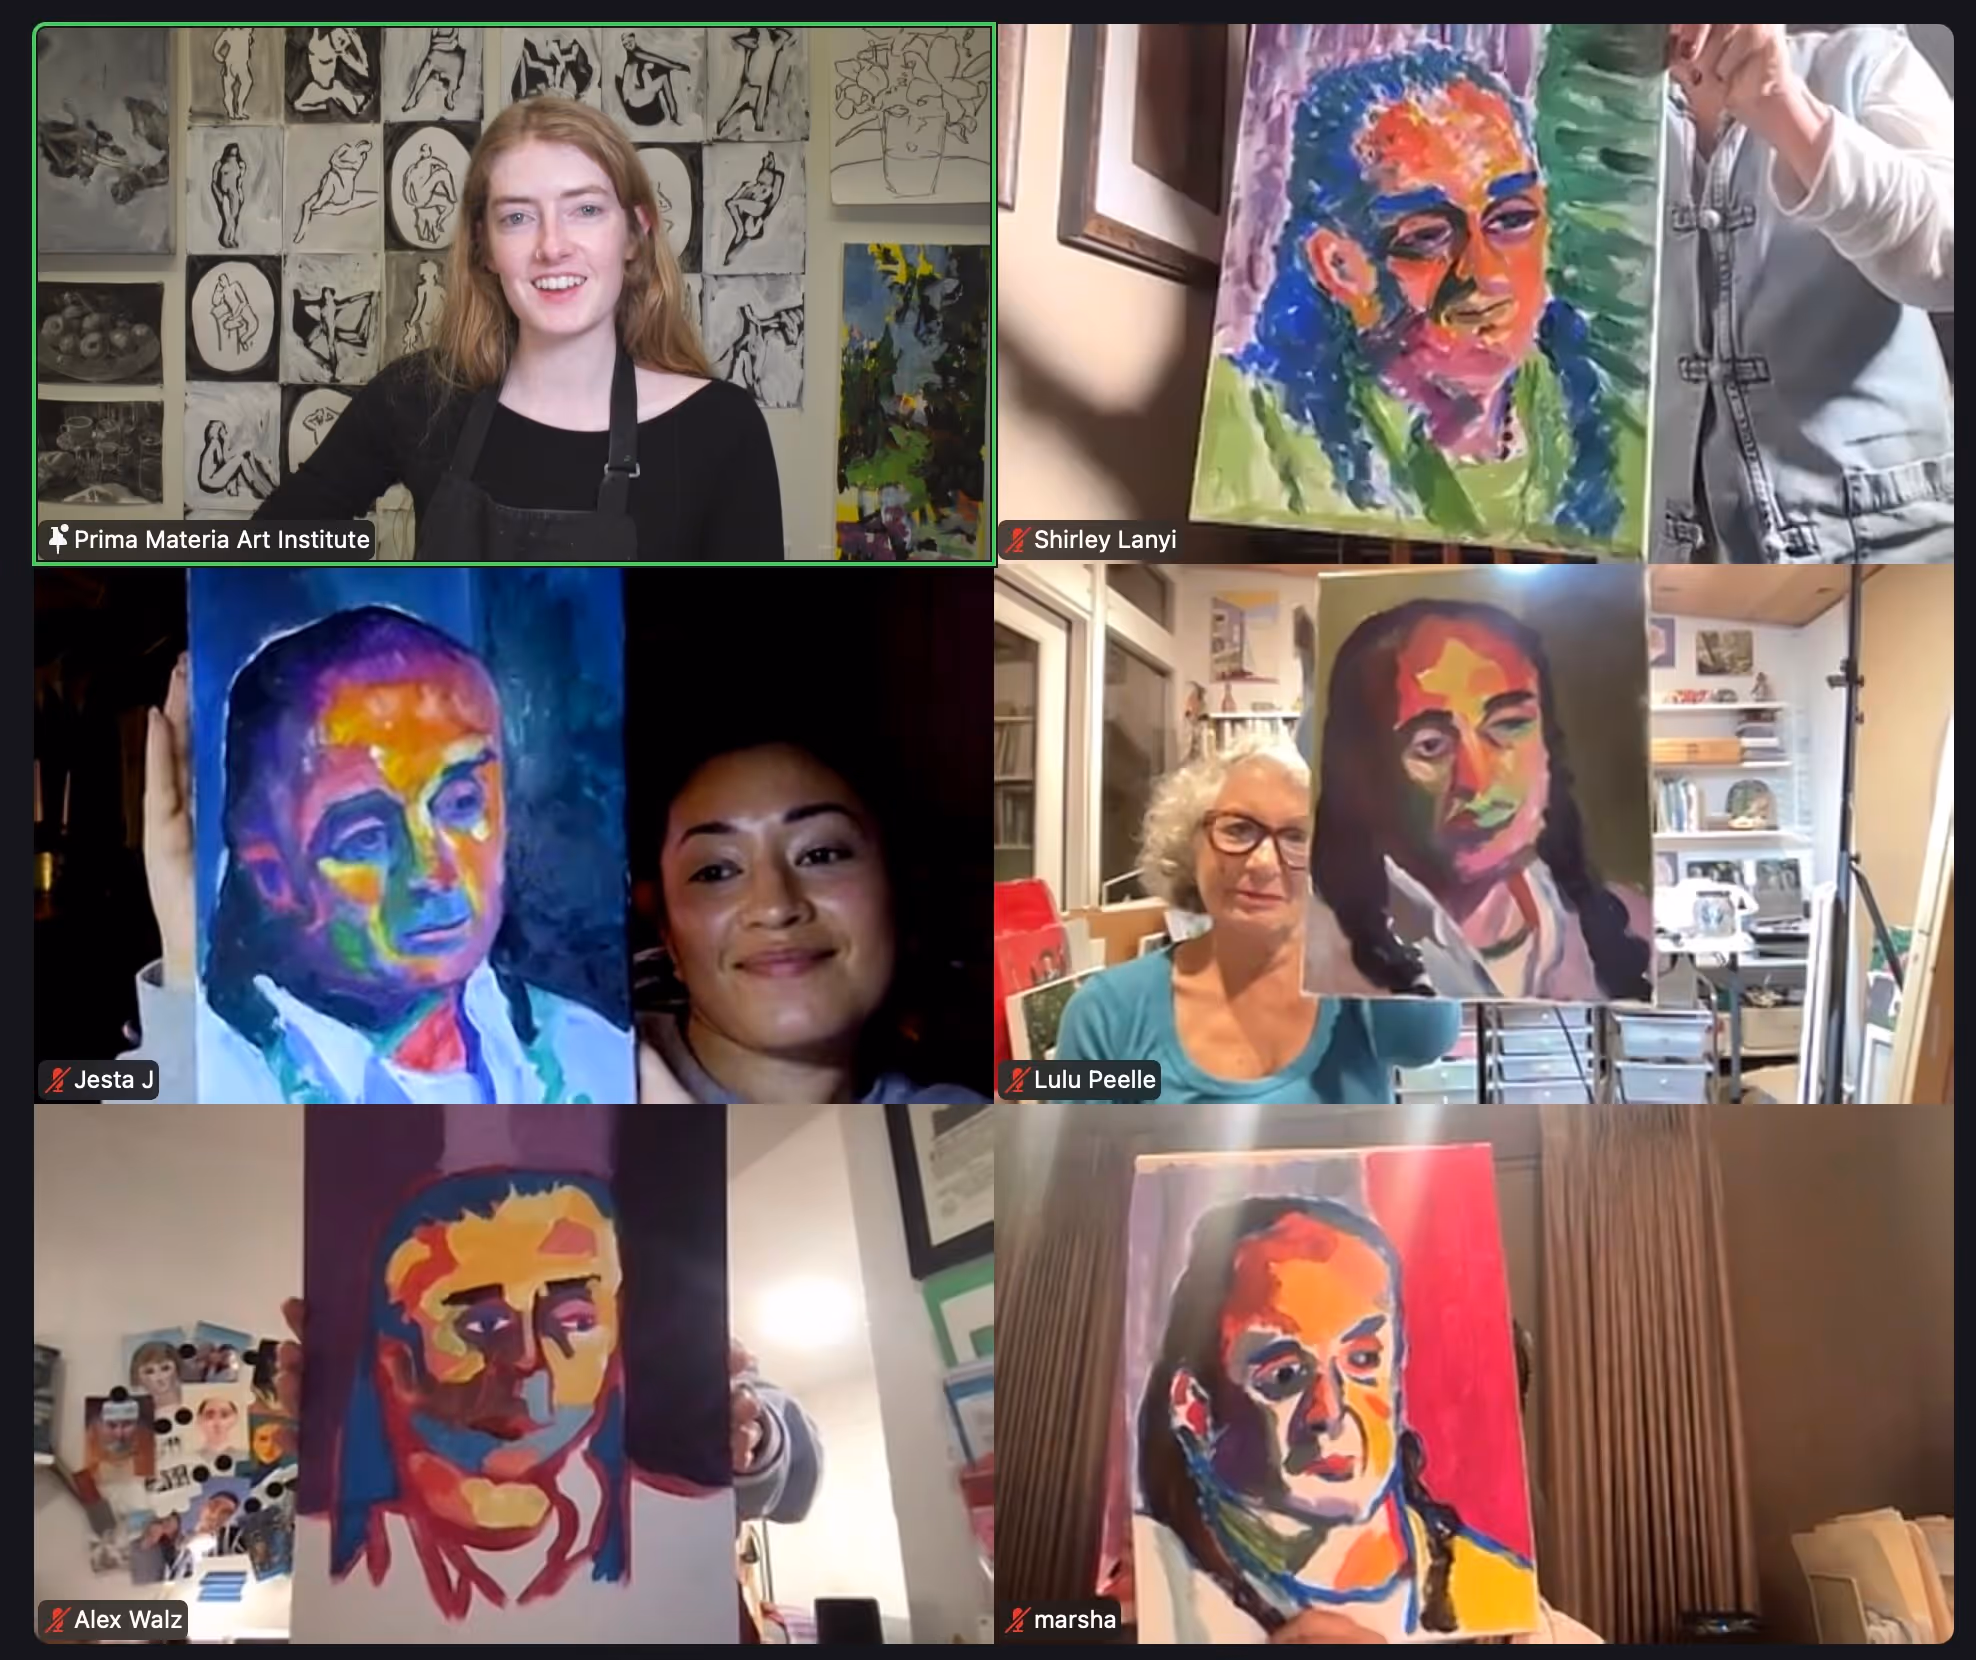
Complete your second study from a photo reference. This overall color harmony is cooler - notice the differences between this image and the previous week's. Paint the new colors you now see.
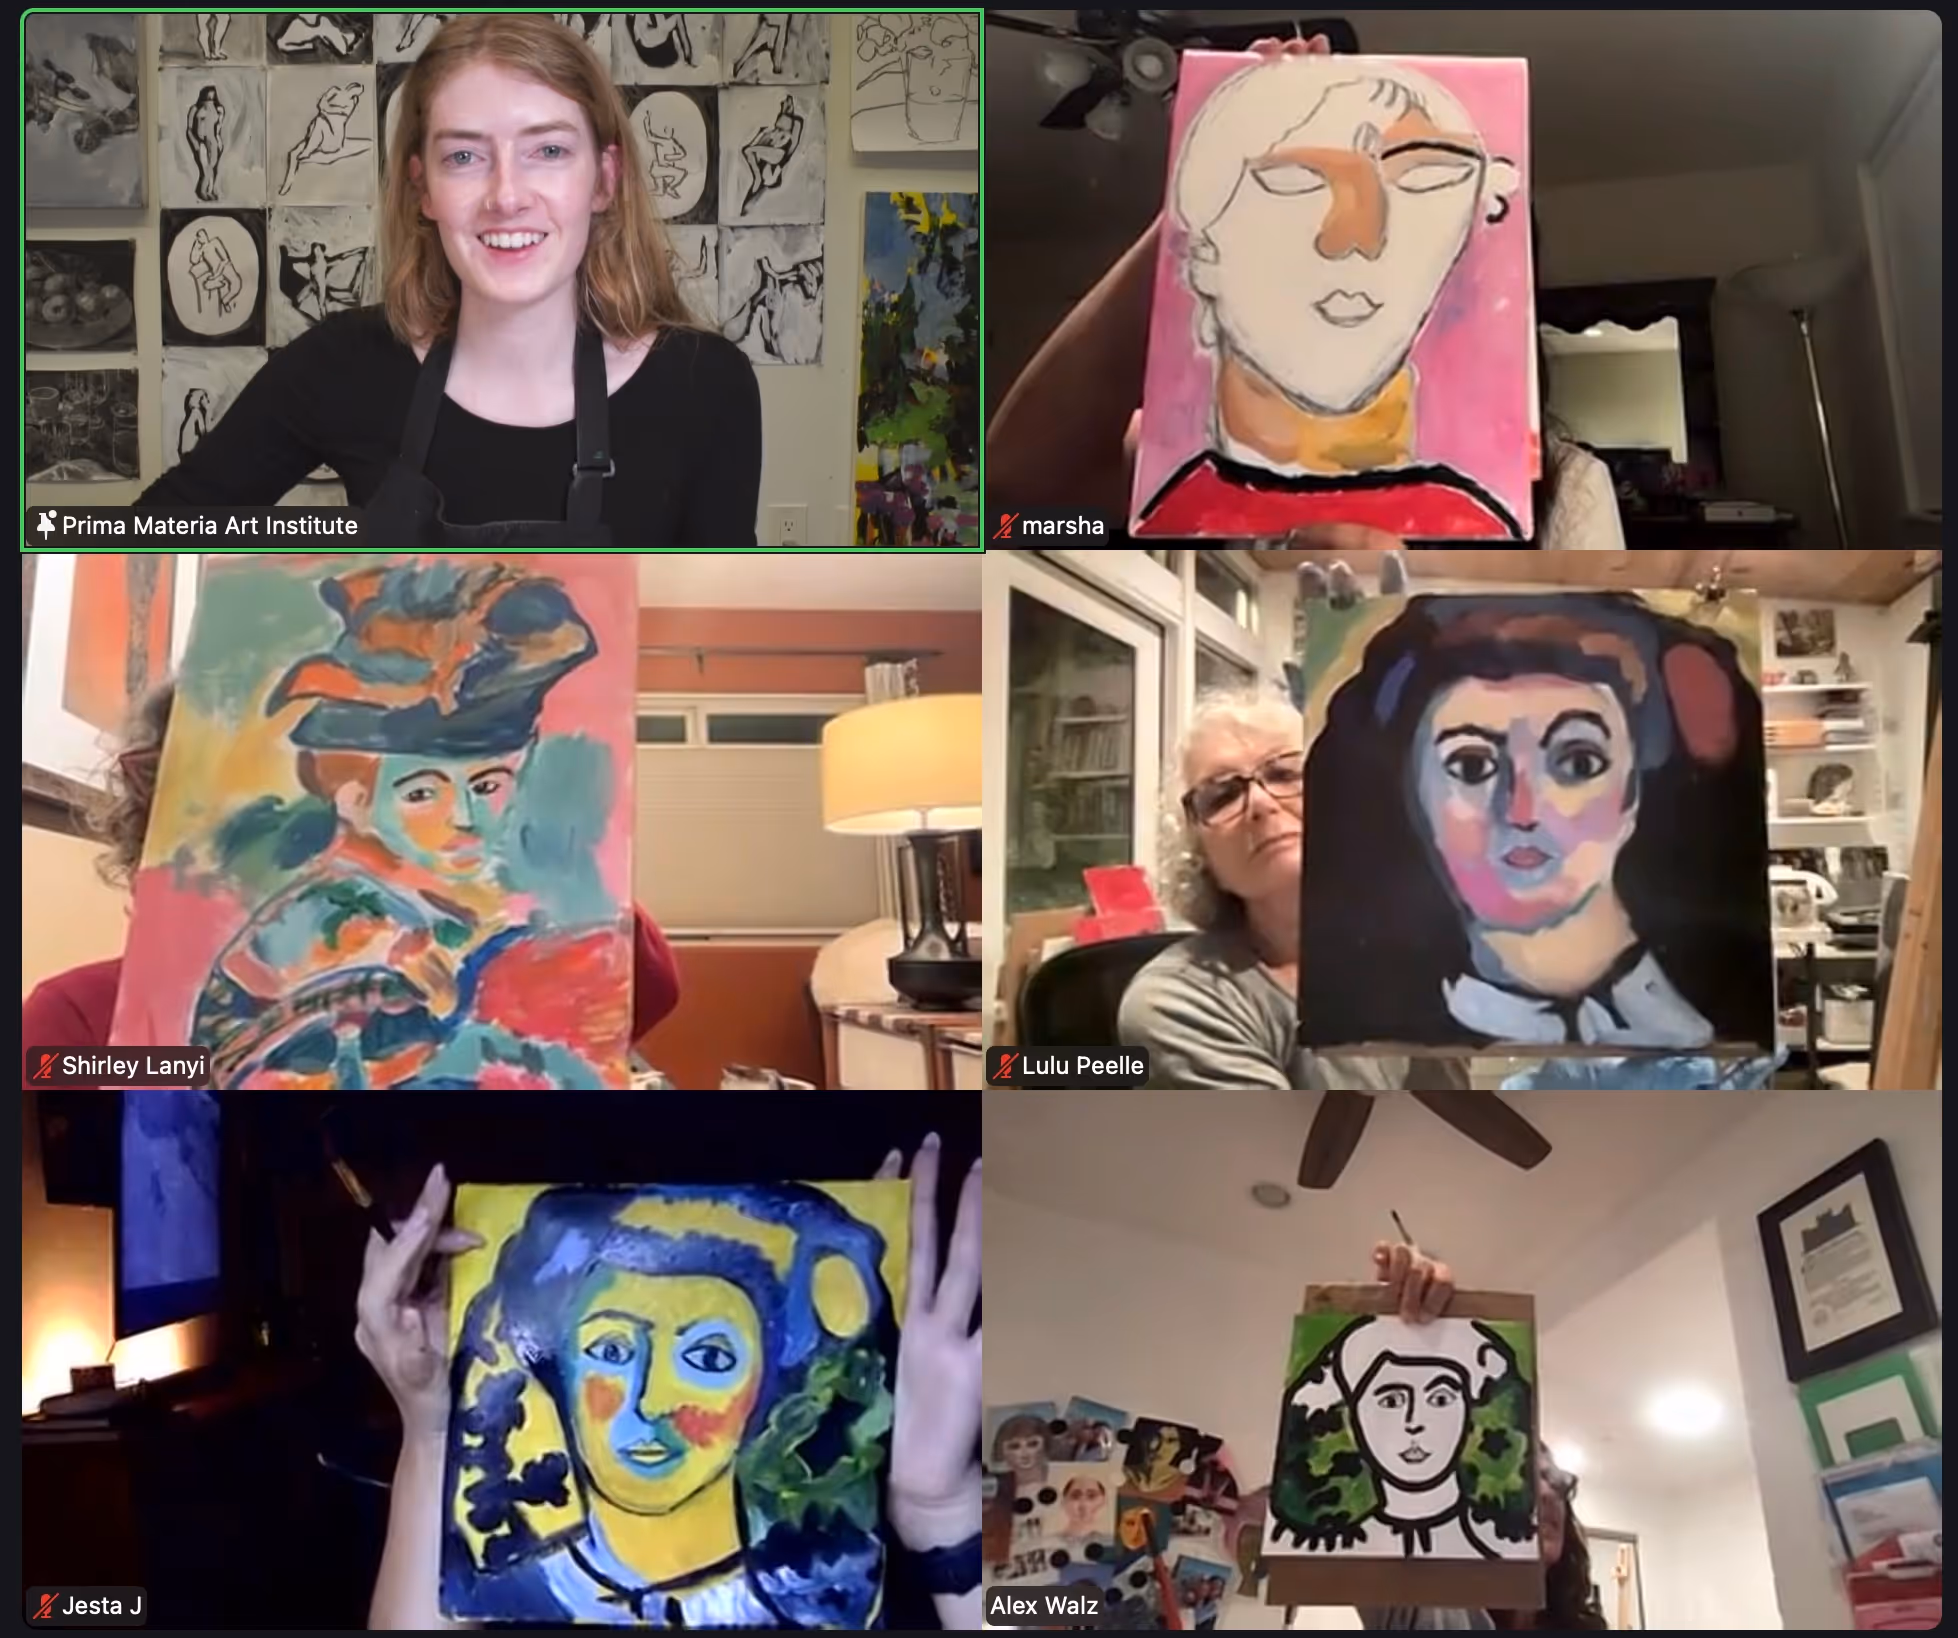
Complete your first study, based on the photograph sent. To paint like a fauve, you have to develop the ability to see color without the influence of logic. To do this, it helps to gaze like a cow (compare areas to one another). You may also find it helpful to zoom into certain areas of the photo, but be sure to zoom out when painting to see the big picture.
Step back from your piece often, including without the photo reference, to get an understanding of where your piece is. Sometimes, you have to break away from the photo to make your painting work.
For your last painting (that we'll start on week 4), you're welcome to use your own image. If you plan on doing so, I would recommend to start looking now to give yourself ample time to find an inspiring image.
Finish your fauve portrait copy that you started in class. Try your best to reverse-engineer the artist's process.
Look closely at the
Want a closer look? Right-click and open in a new tab to view.