🎉 BOGO Summer Sale: Buy Any Eligible Course, Choose Another FREE!
Your free course will be added to your account within 24 hours. Contact us after purchase to choose your complimentary course.
Member's schedule
Log In


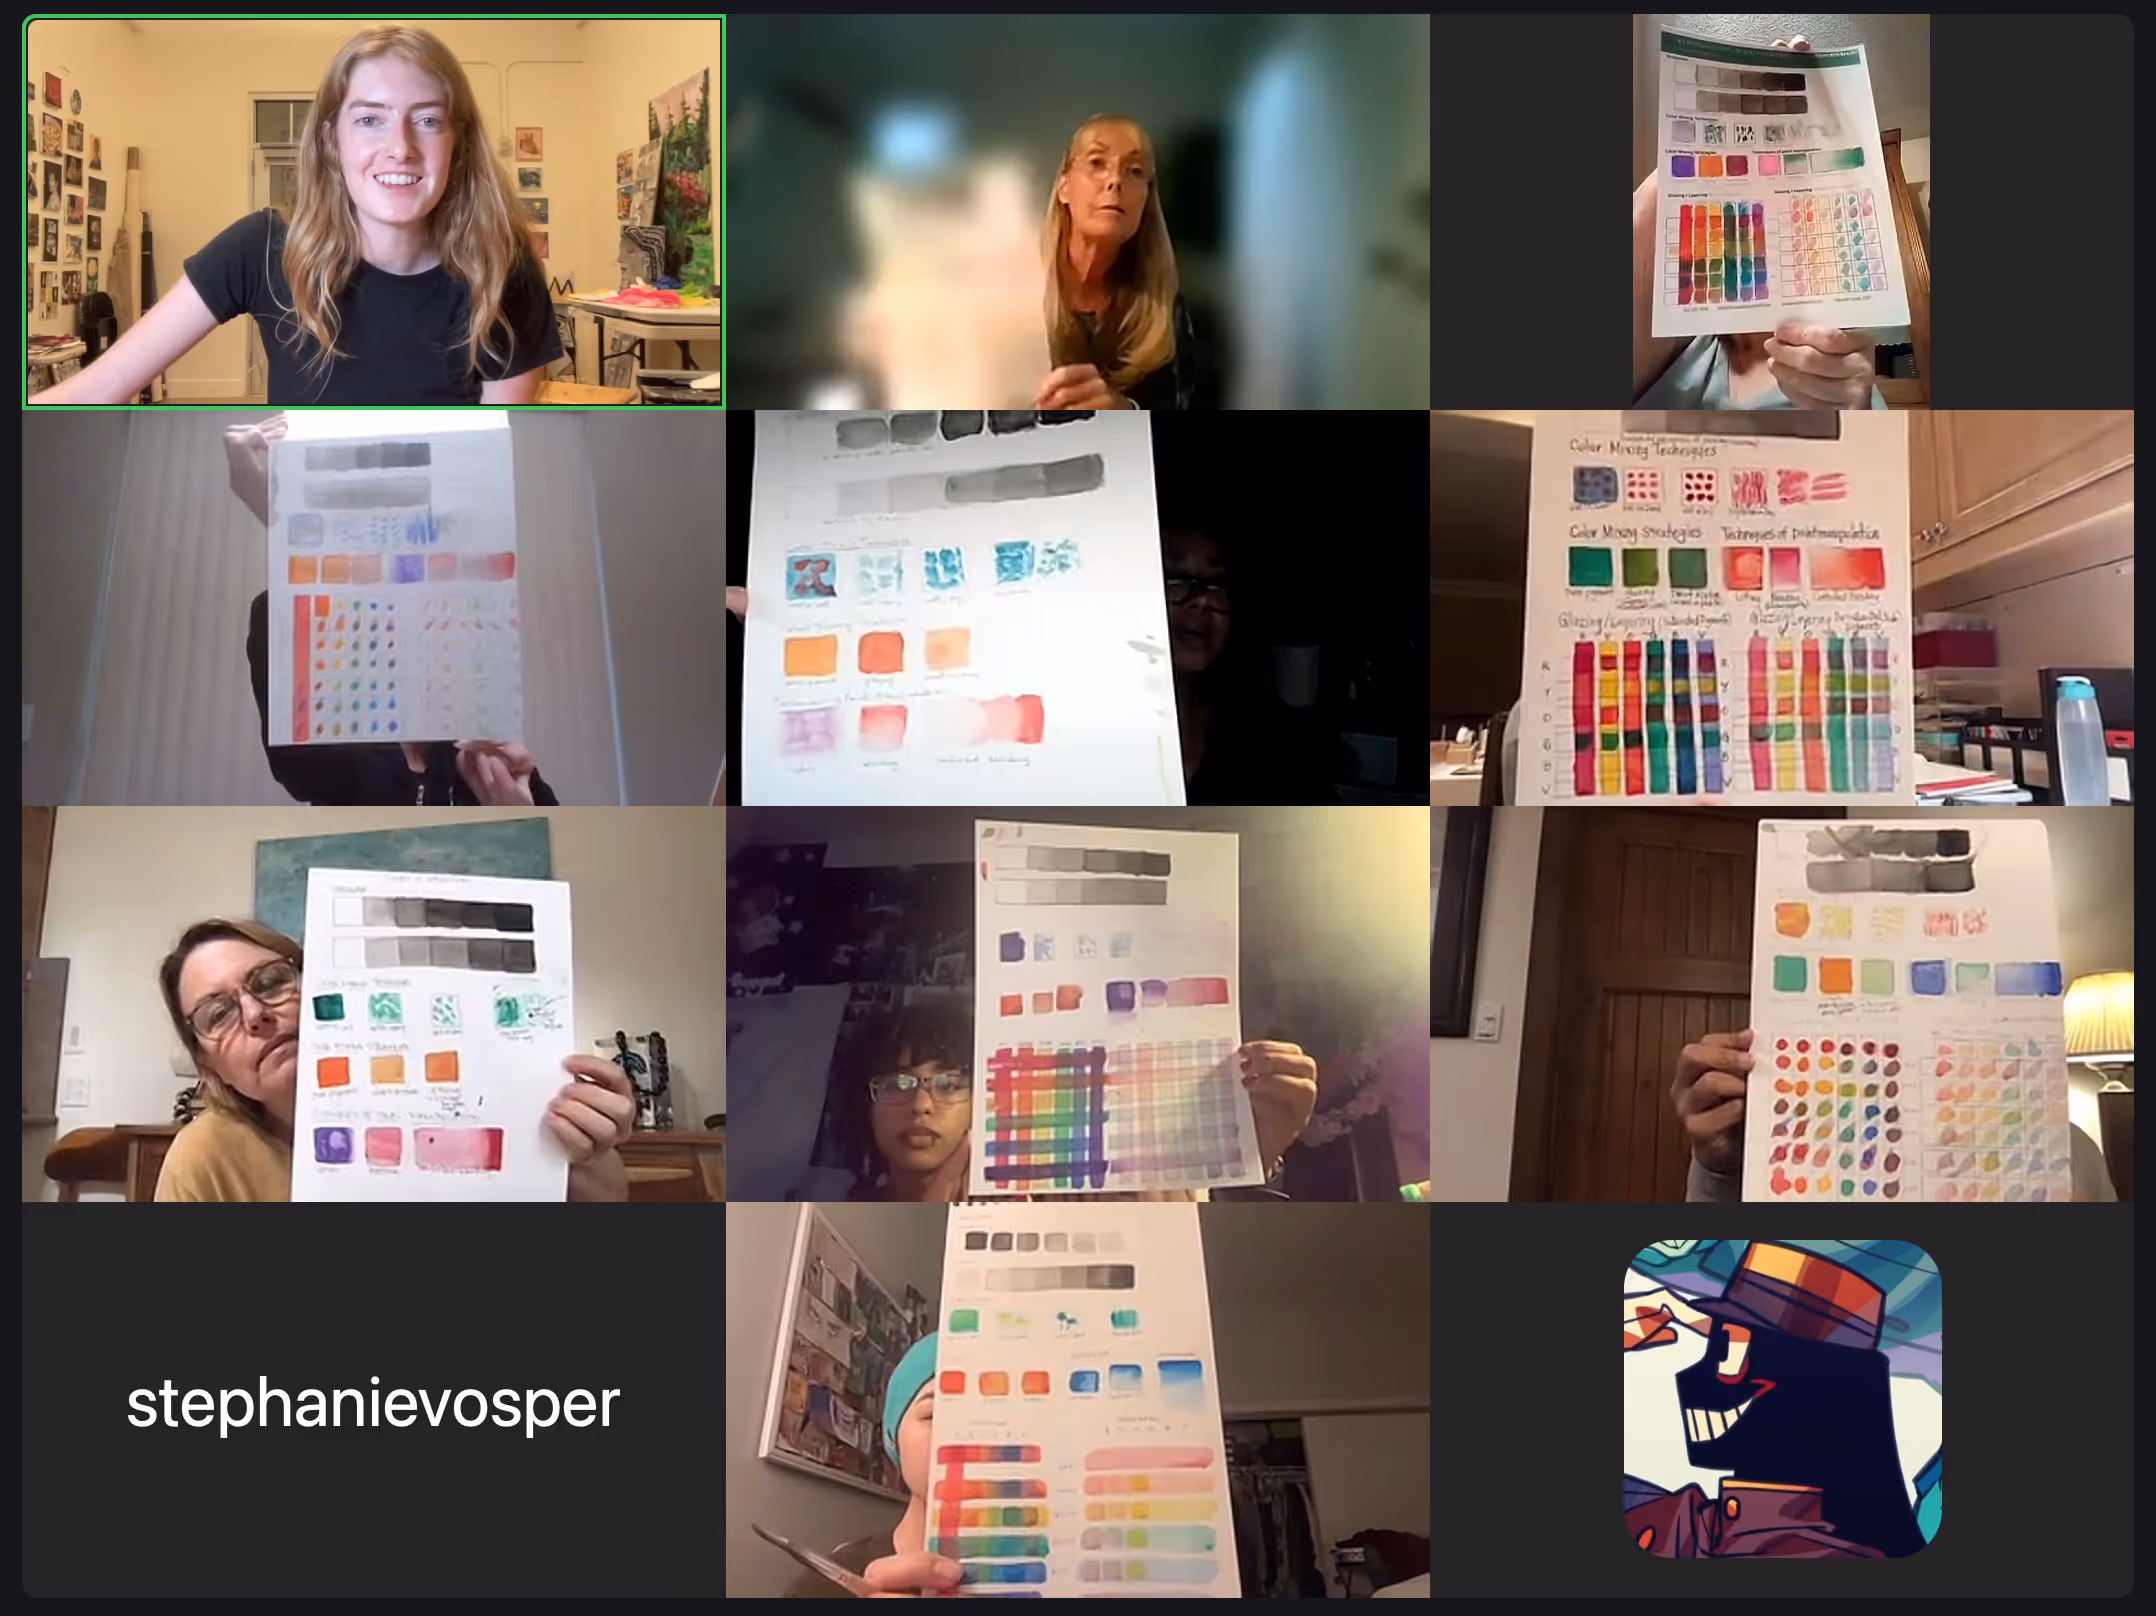
Right-click and open in a new tab to enlarge and print.
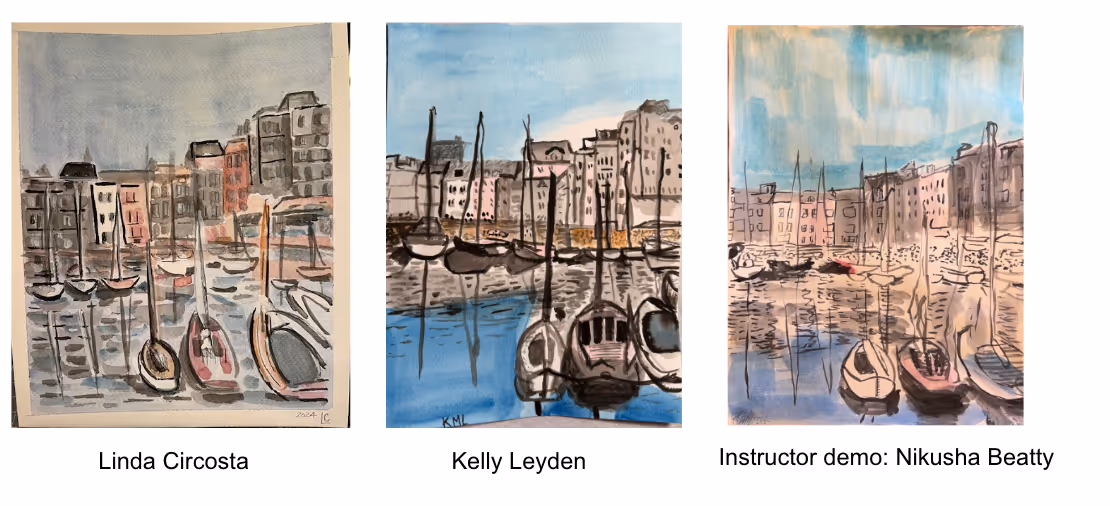
What else to explore when drawing with a brush:
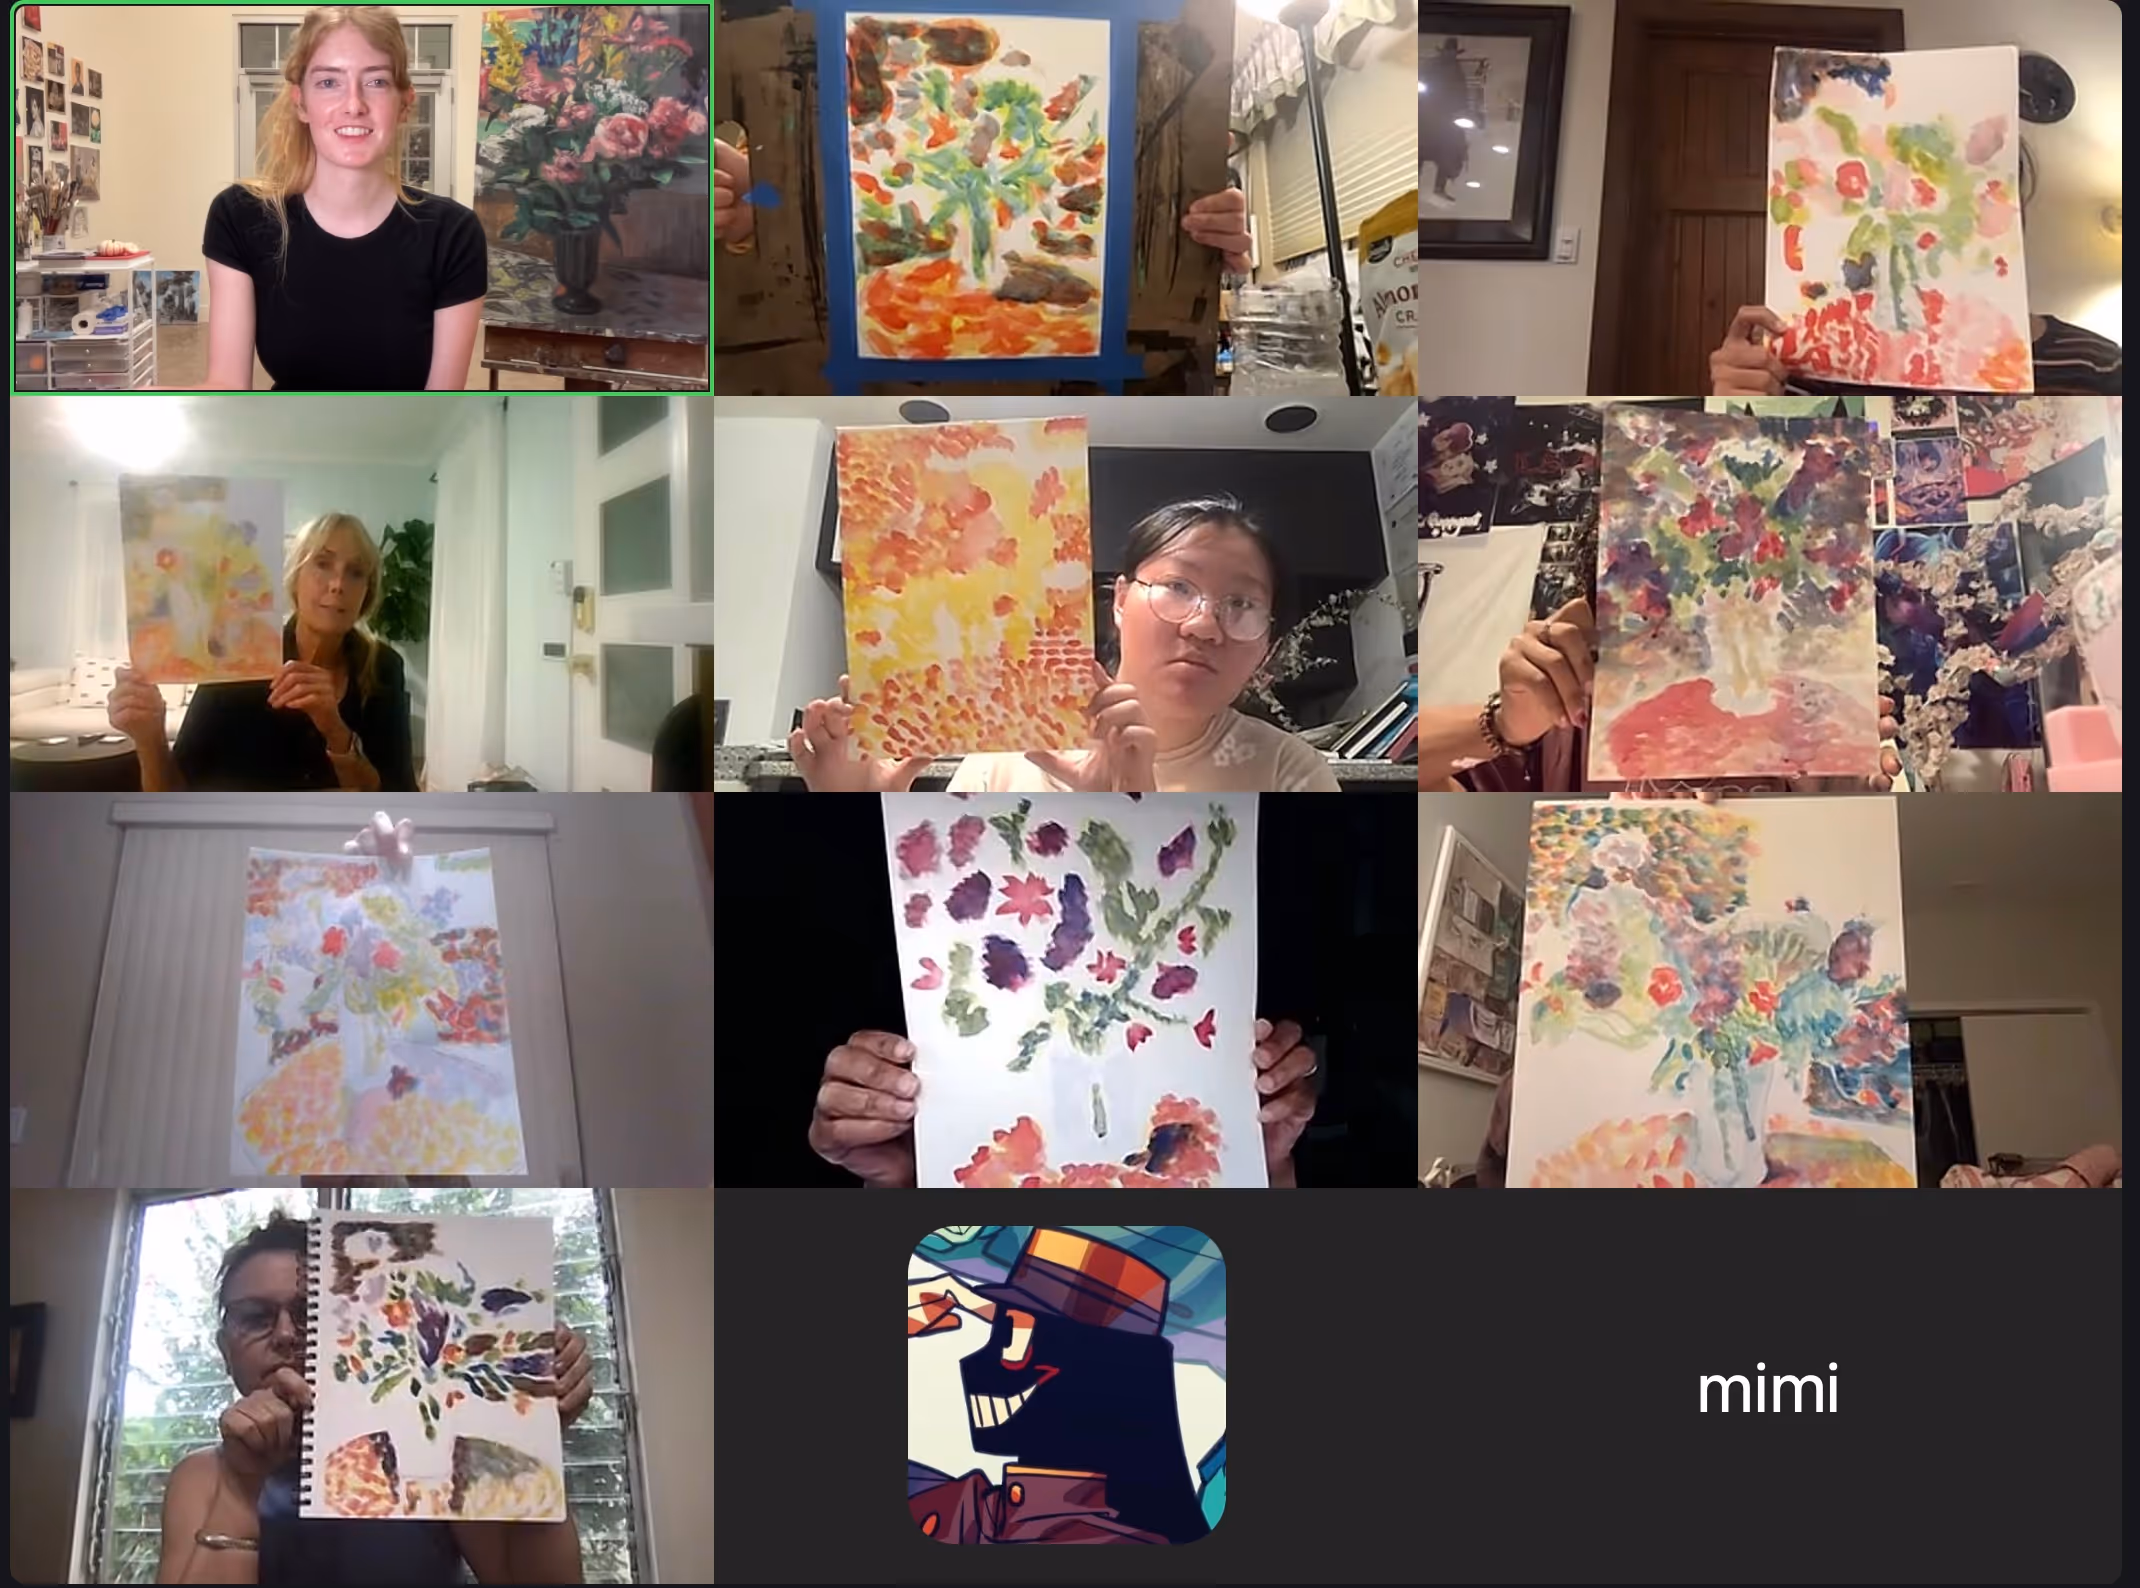
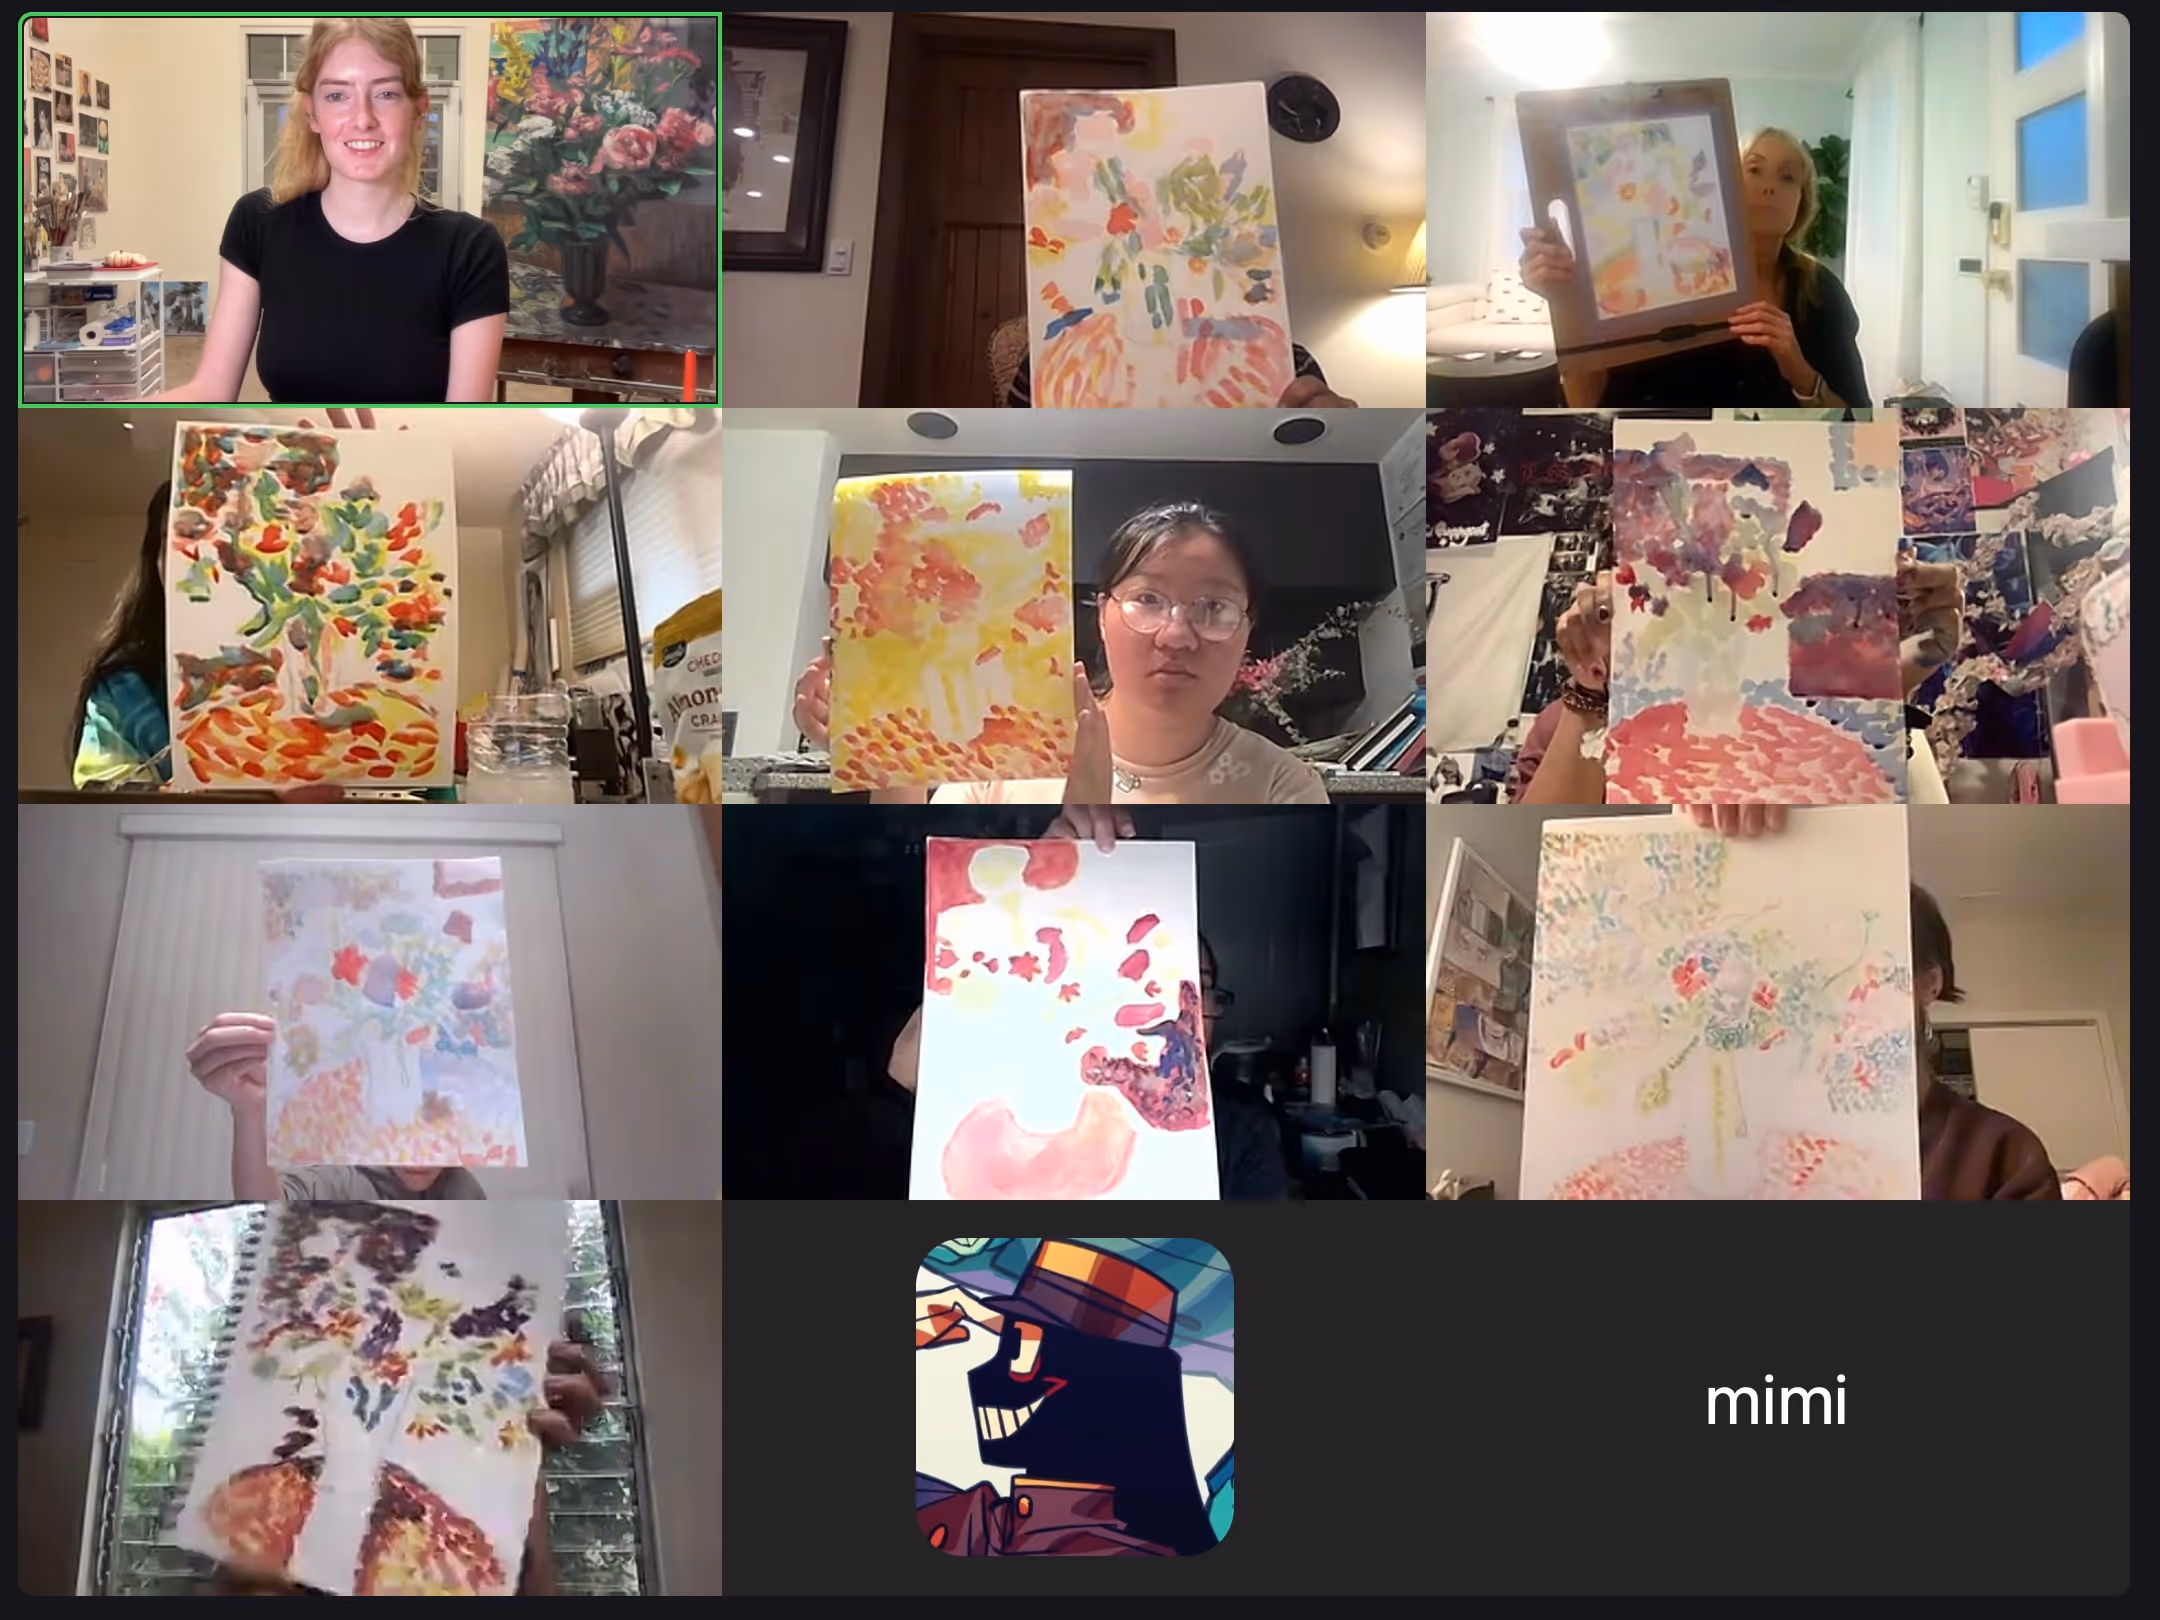
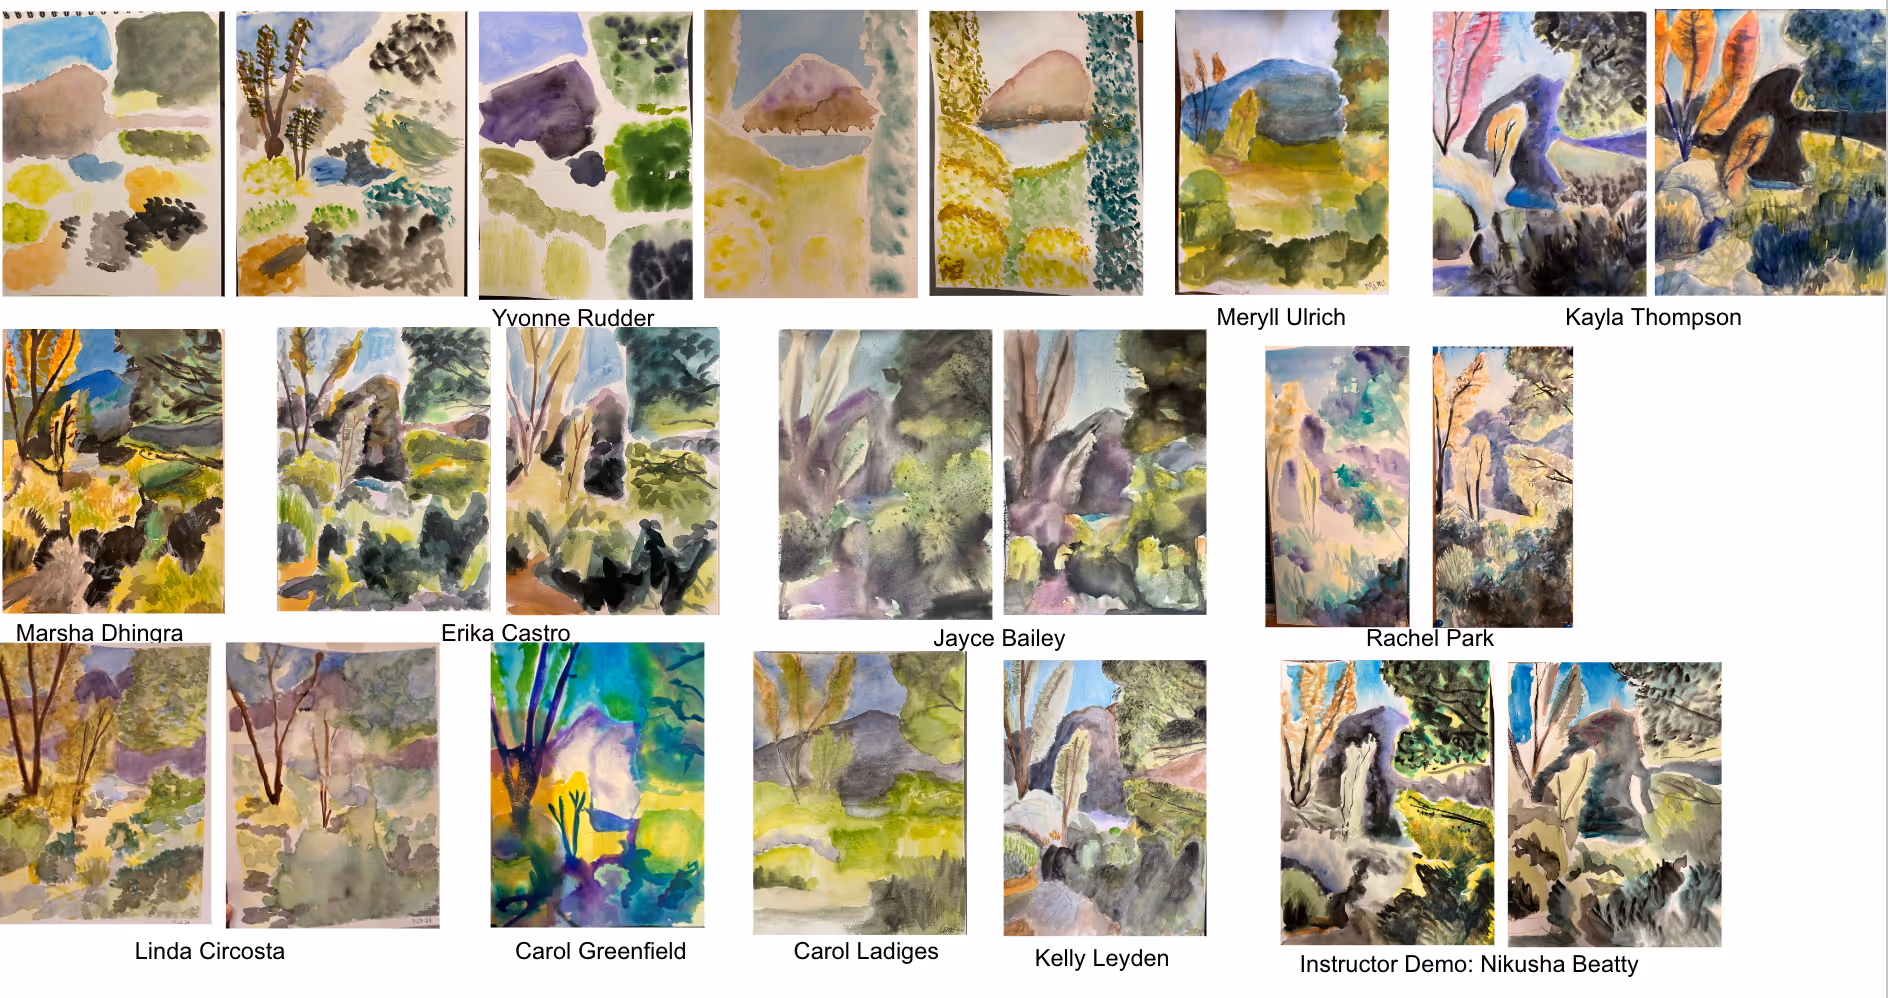
What else to explore when throwing petals (optical color mixing):
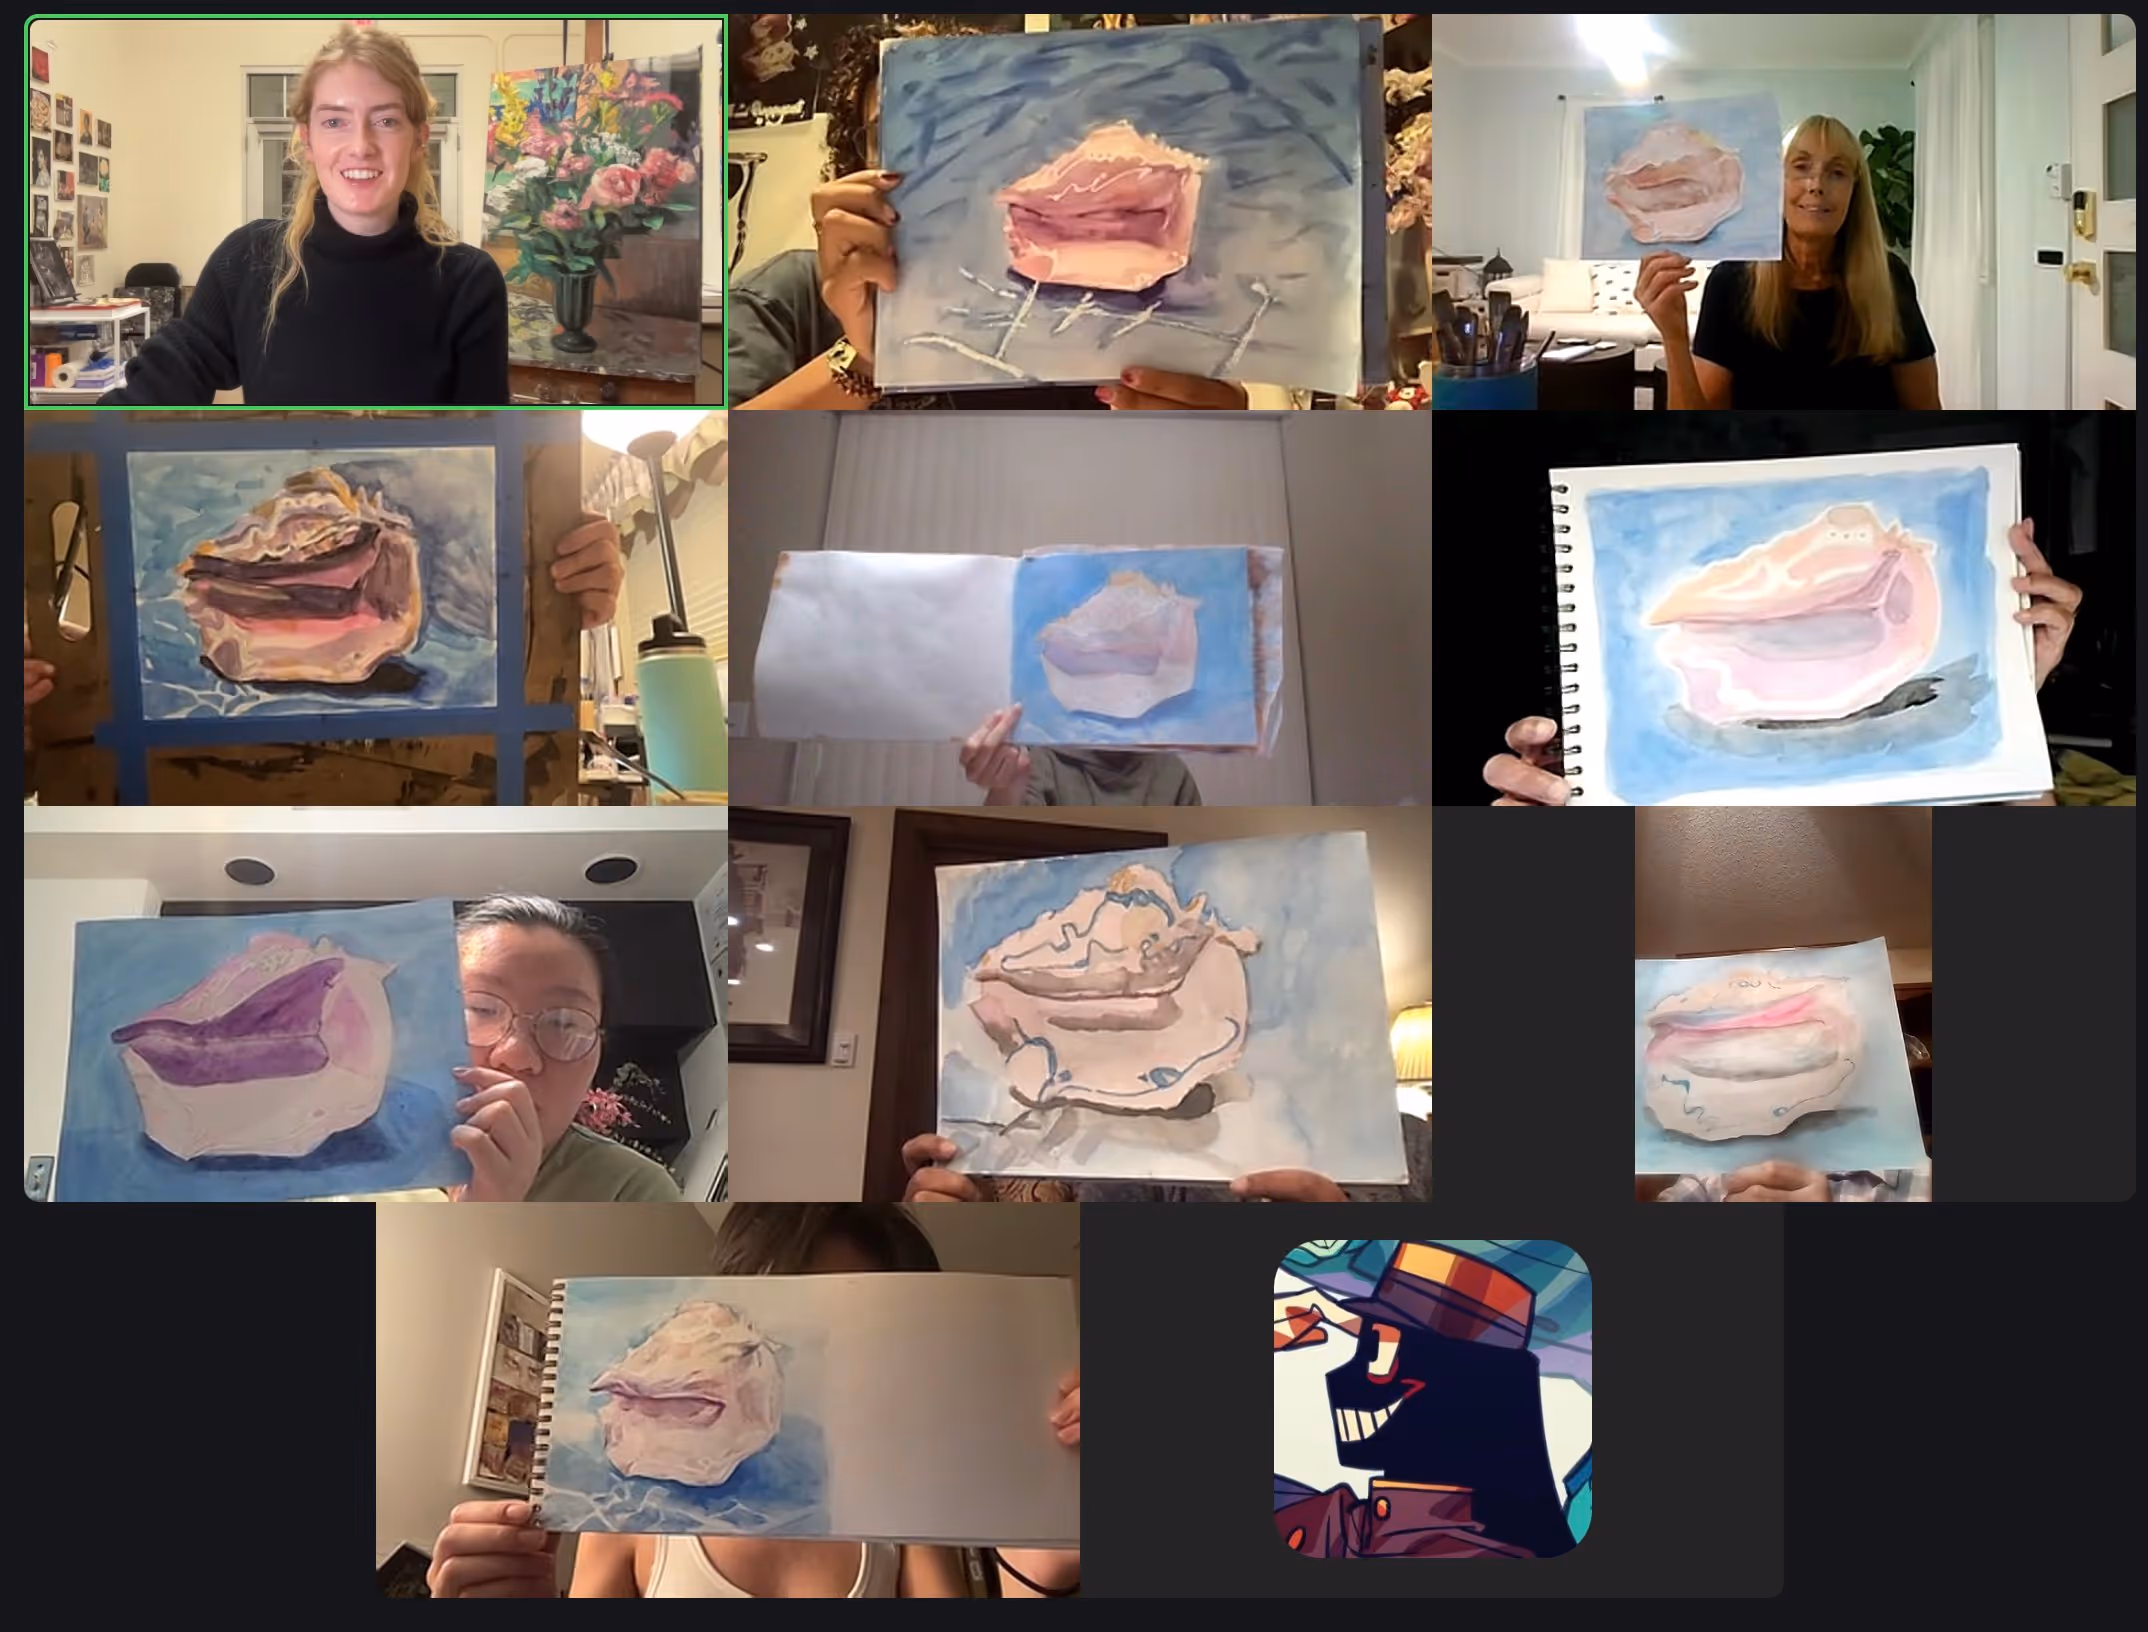
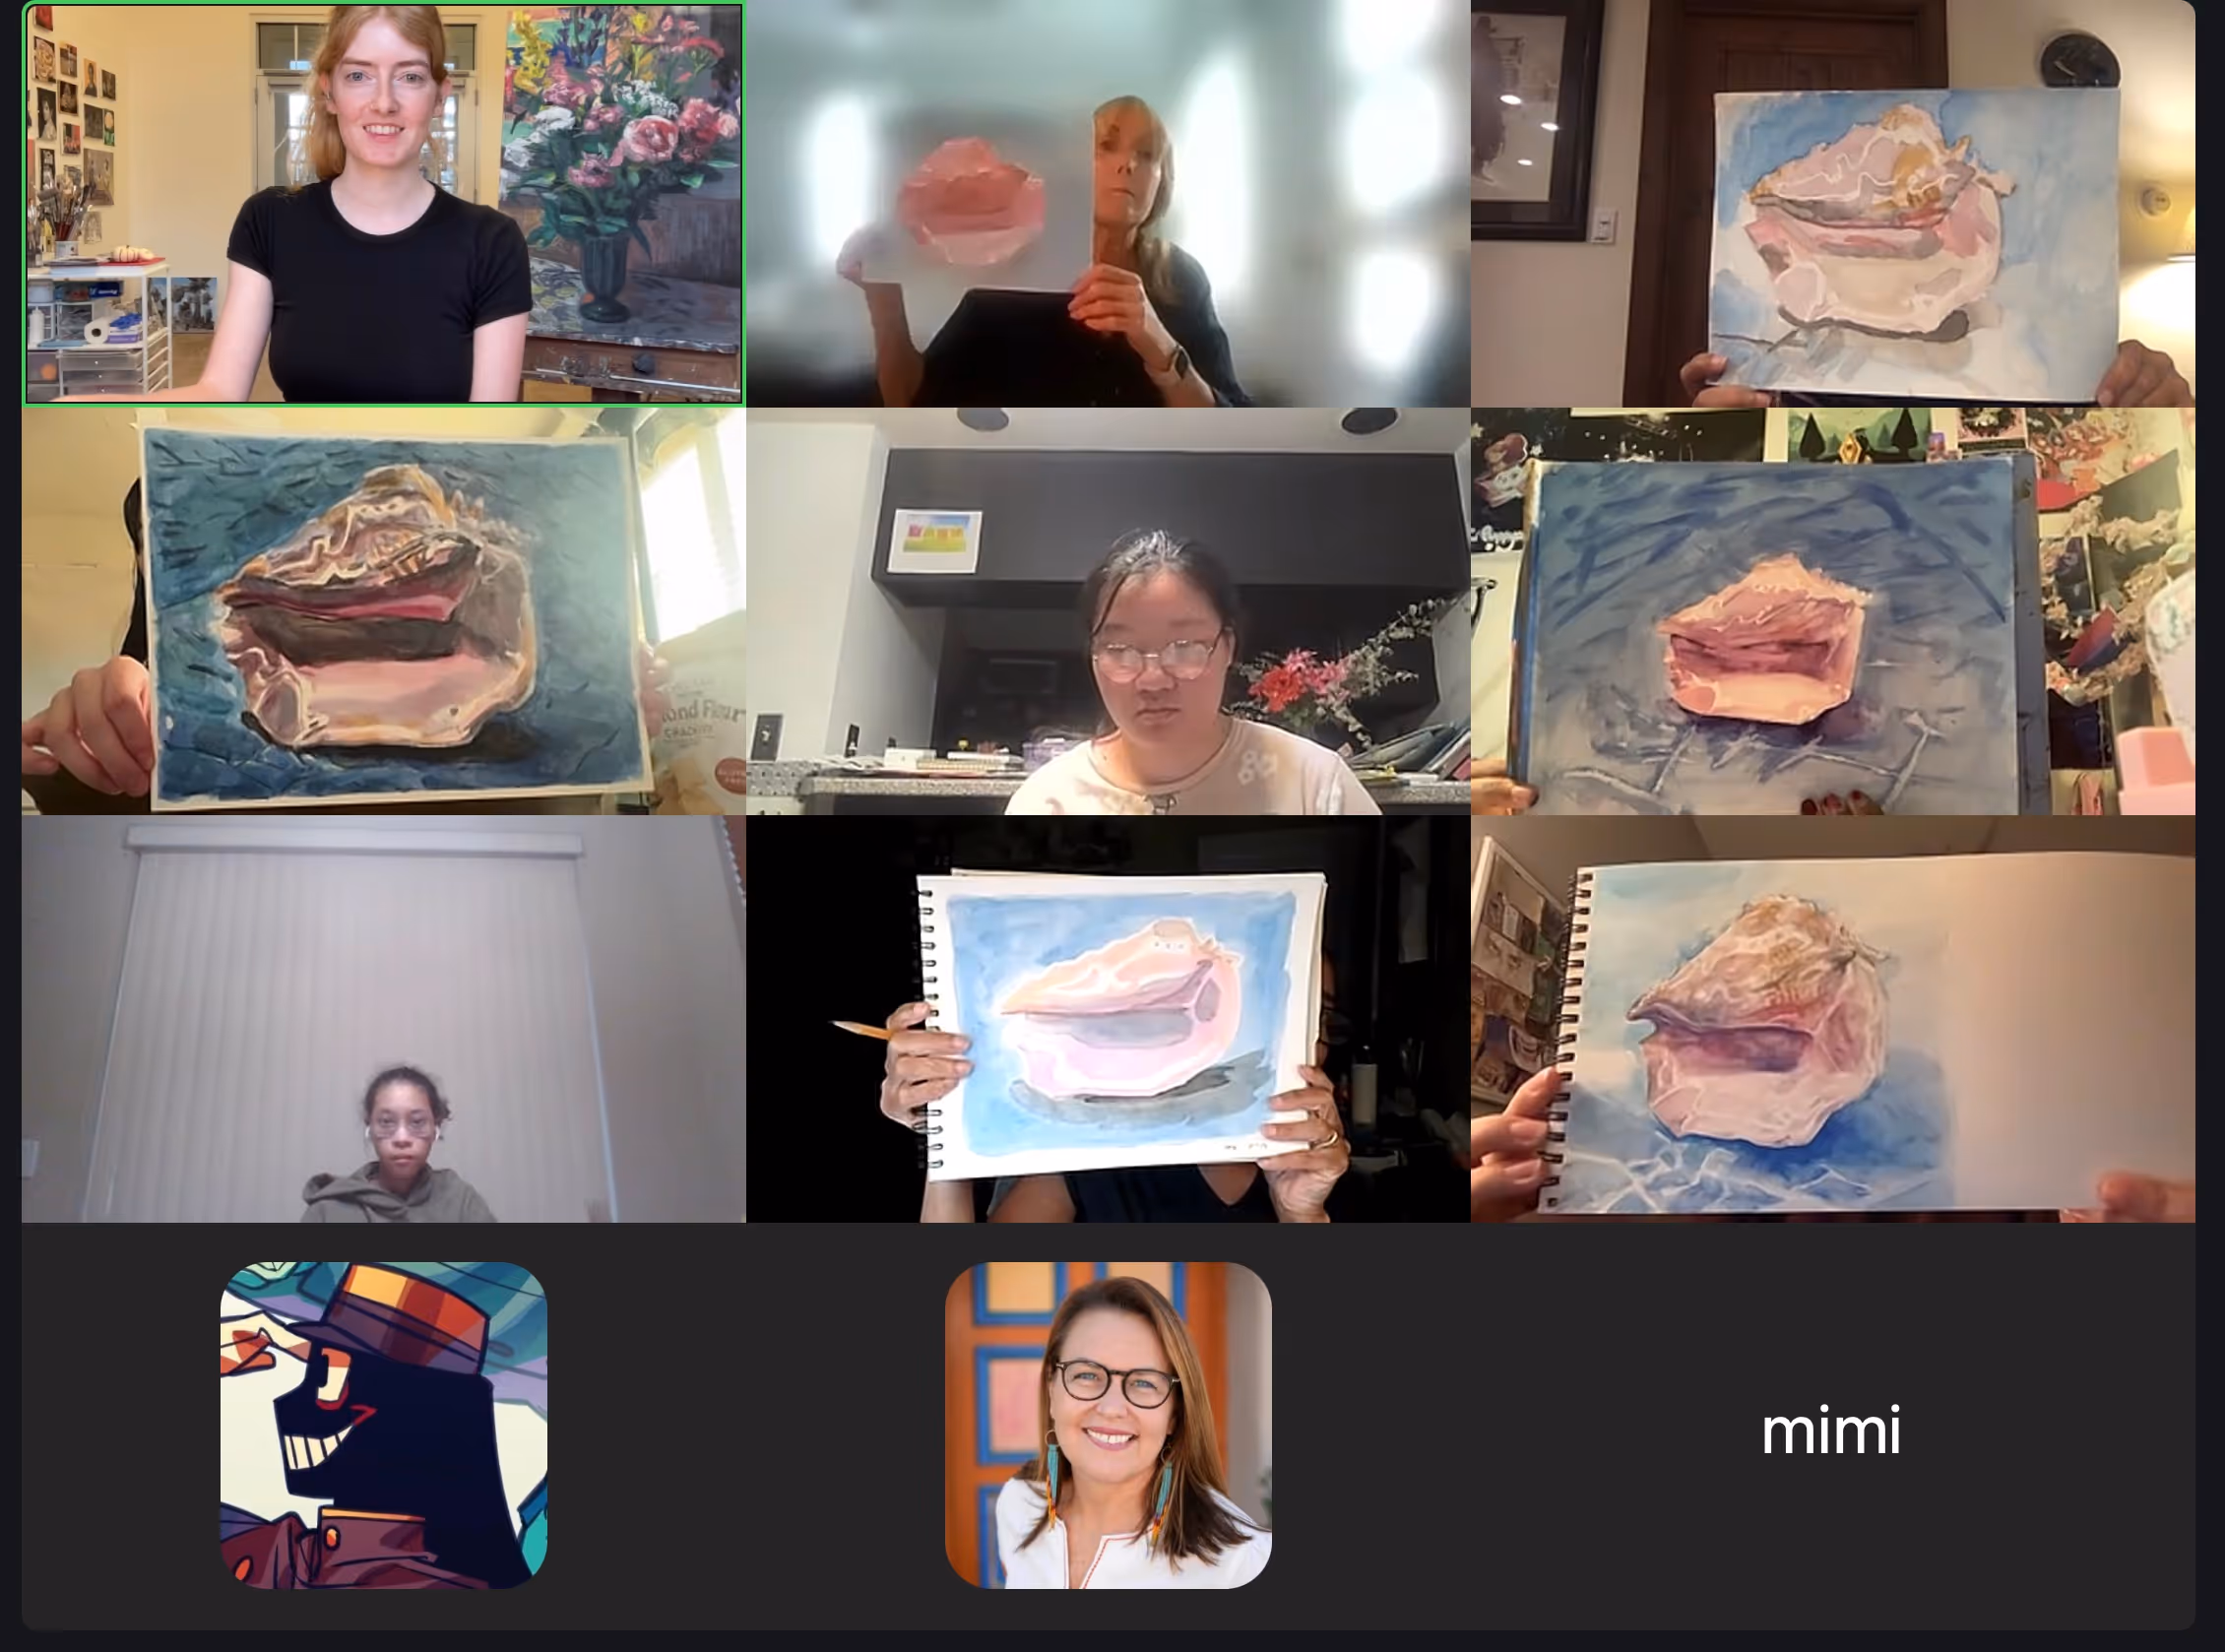
What else can you explore?
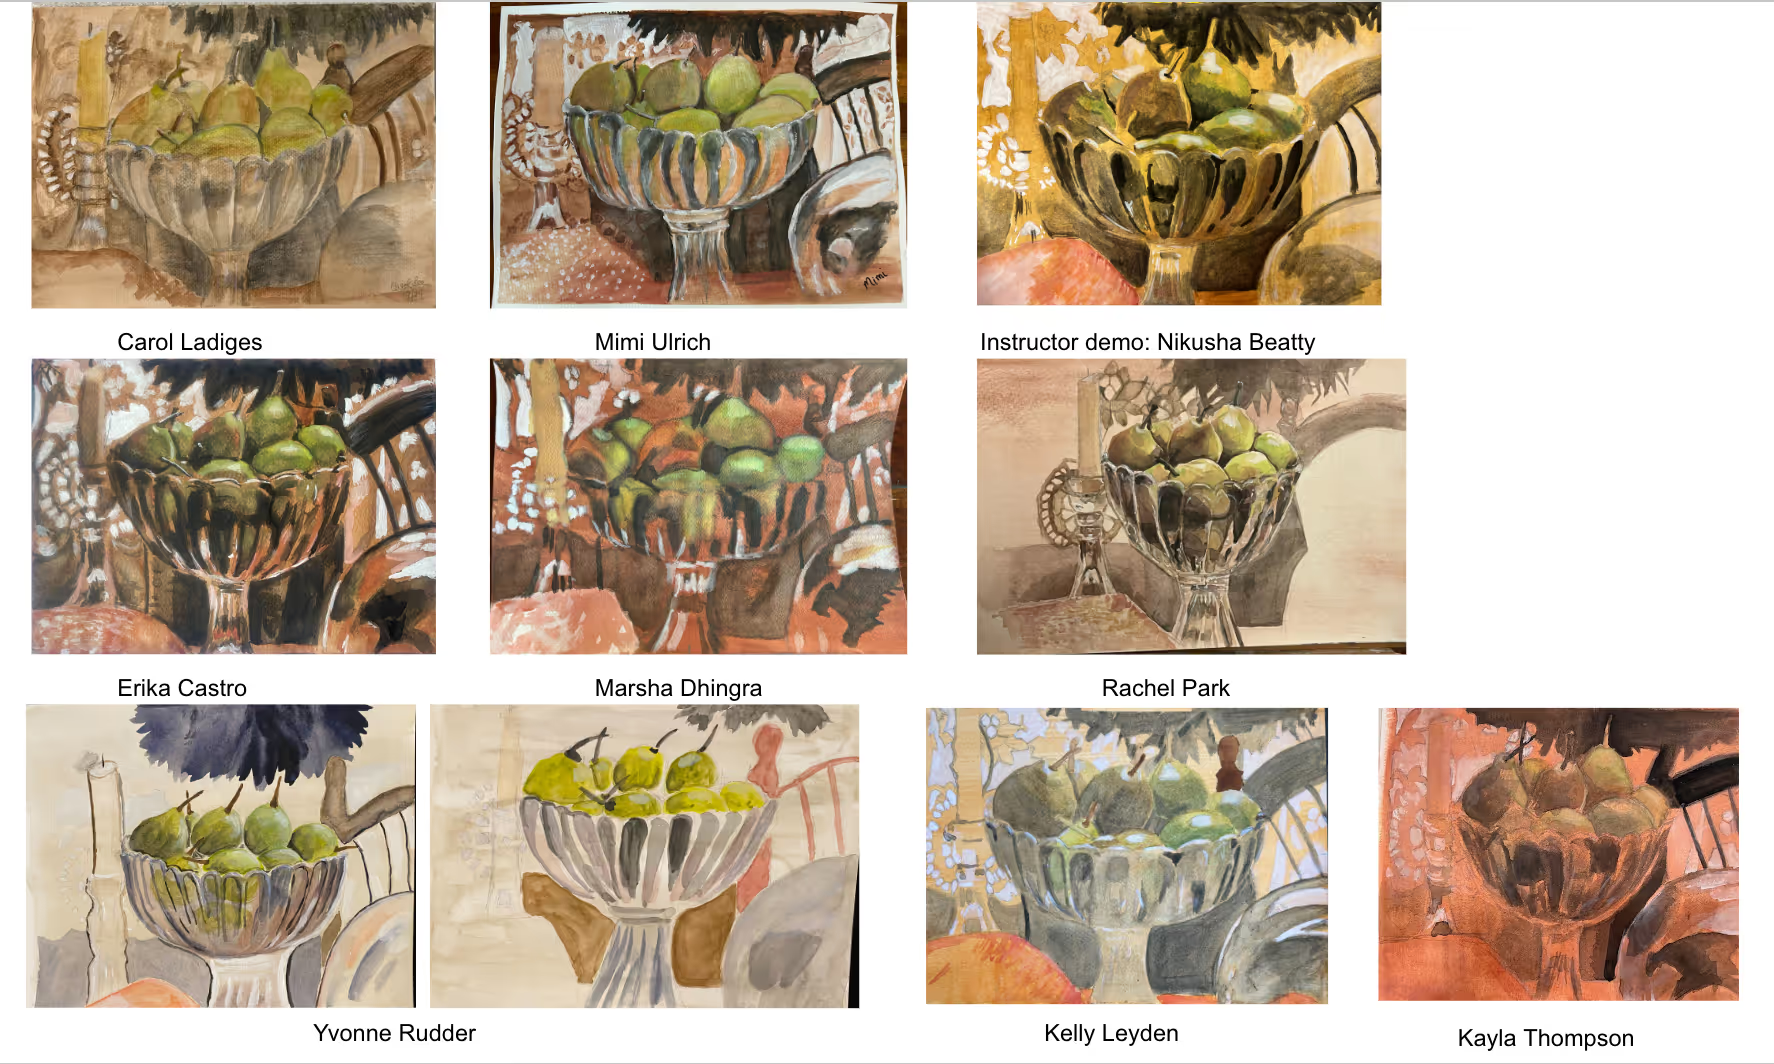
Techniques for reserving the white:
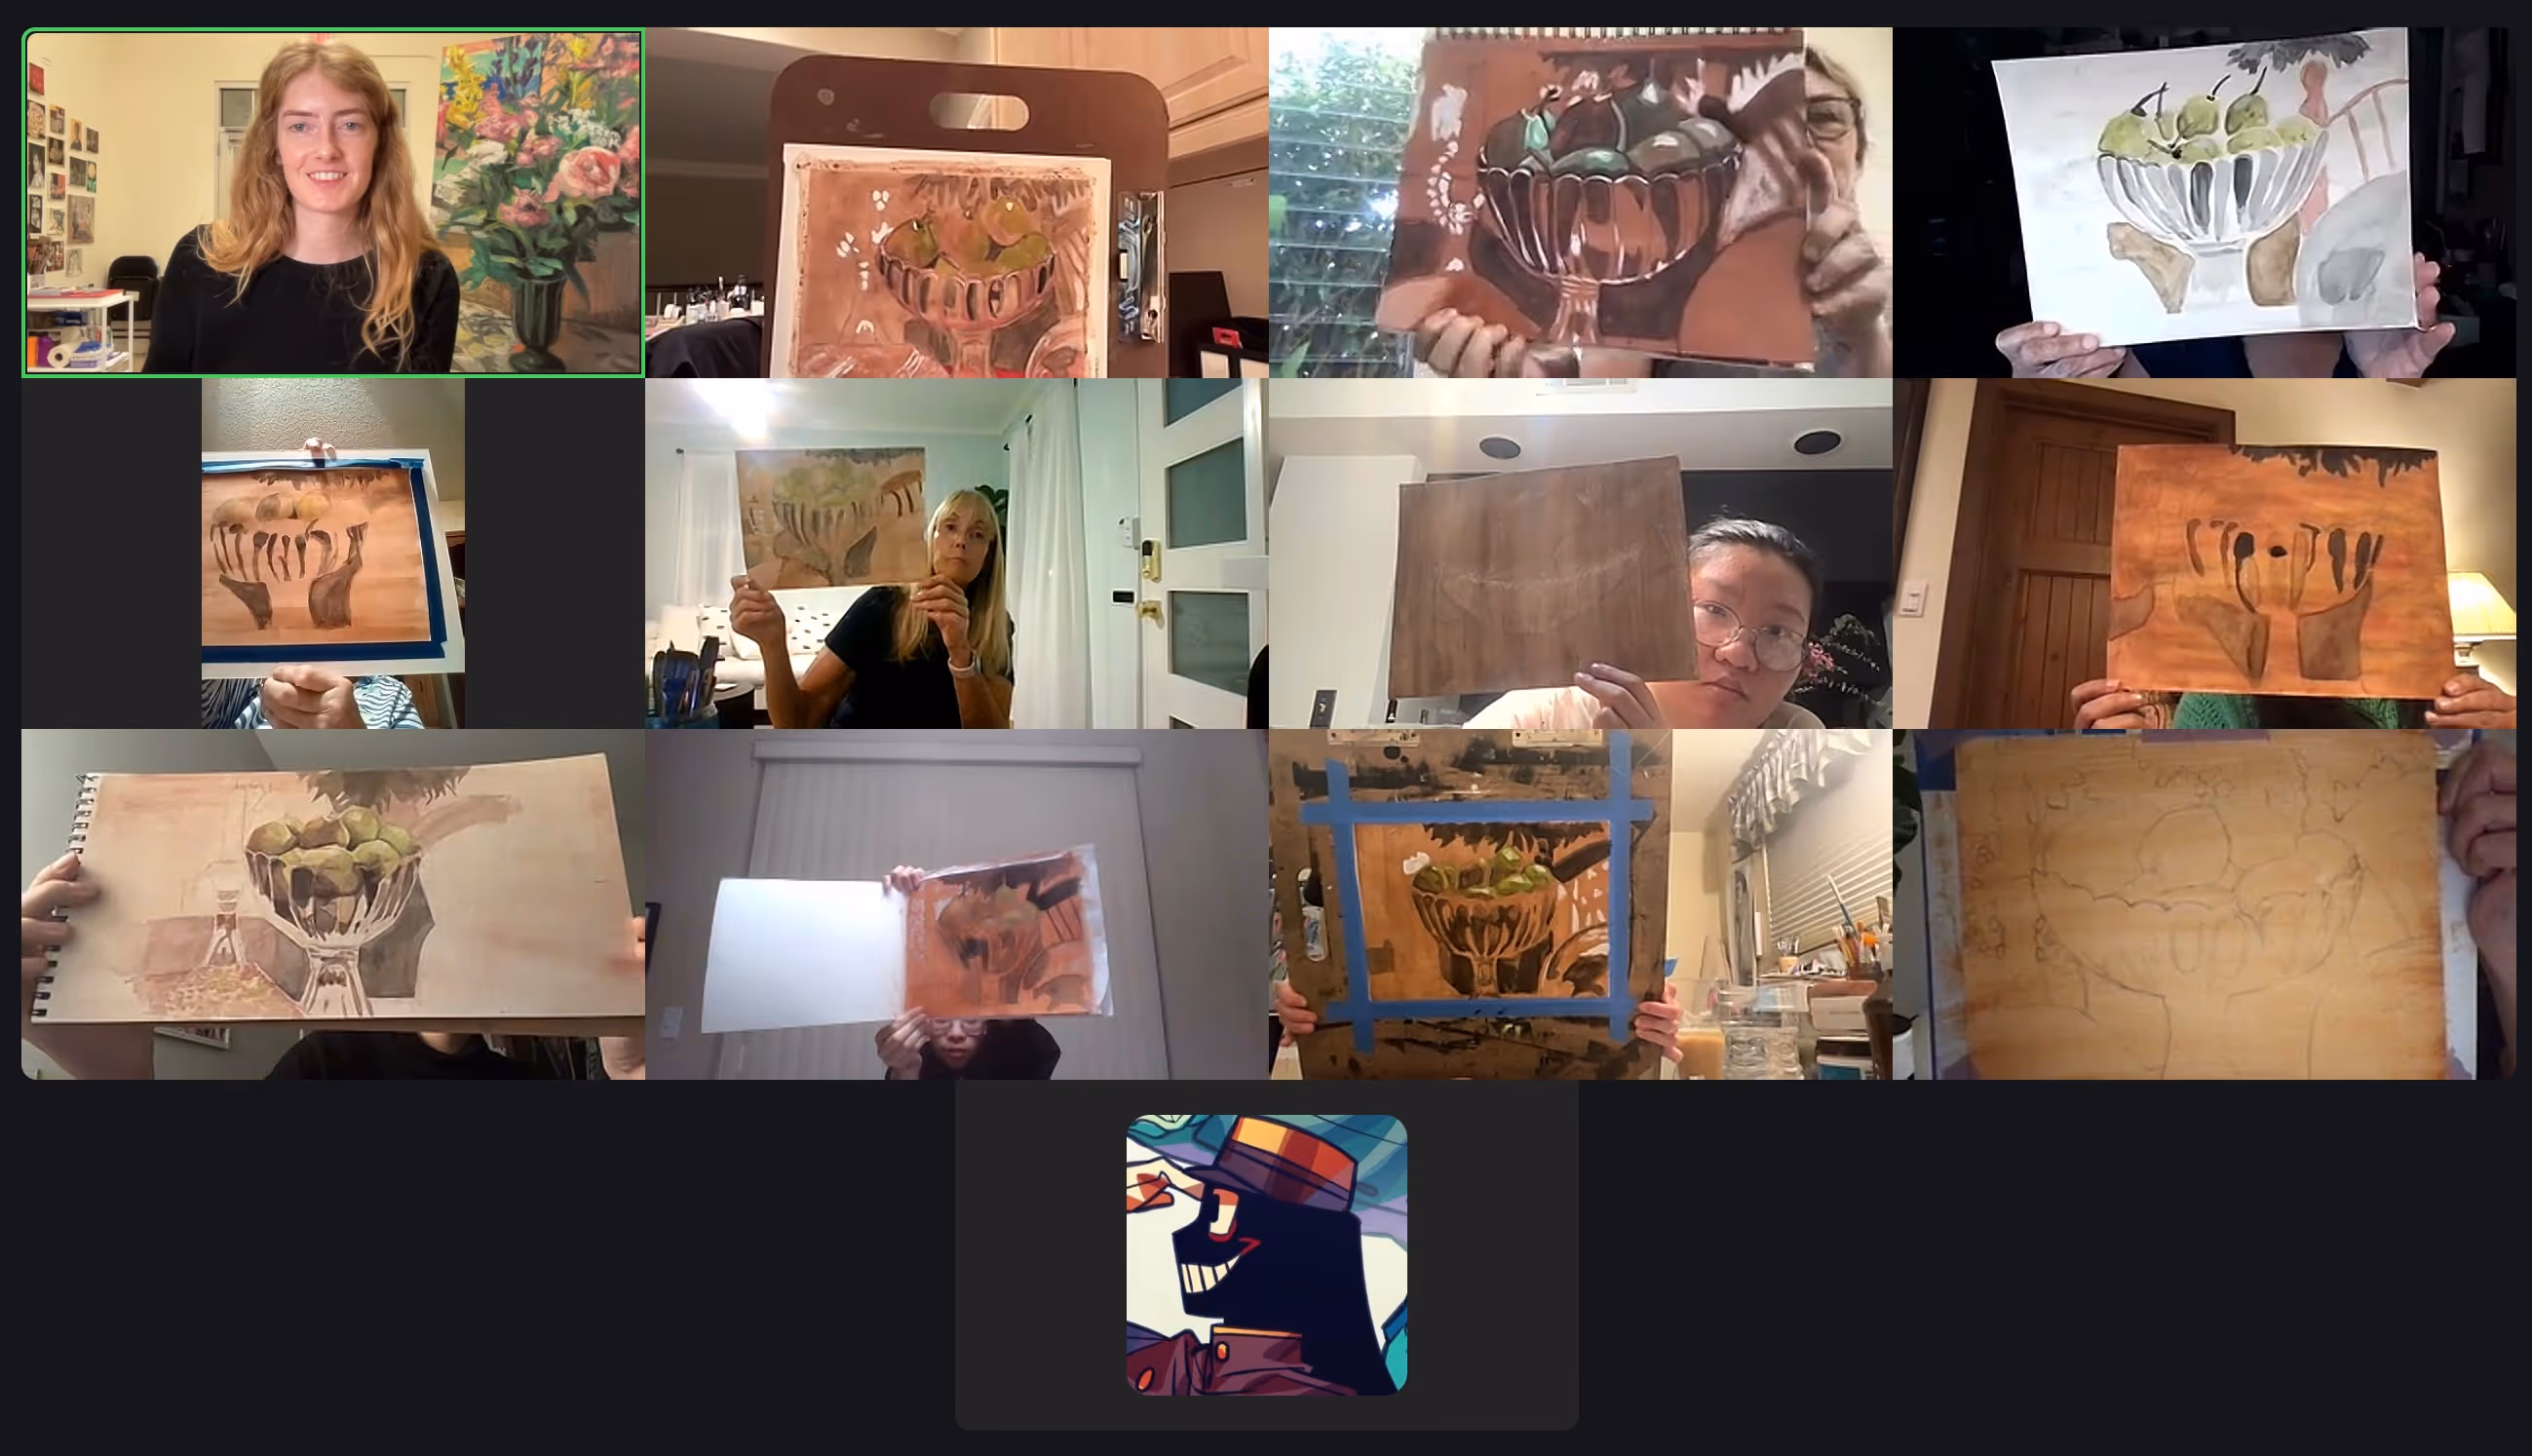
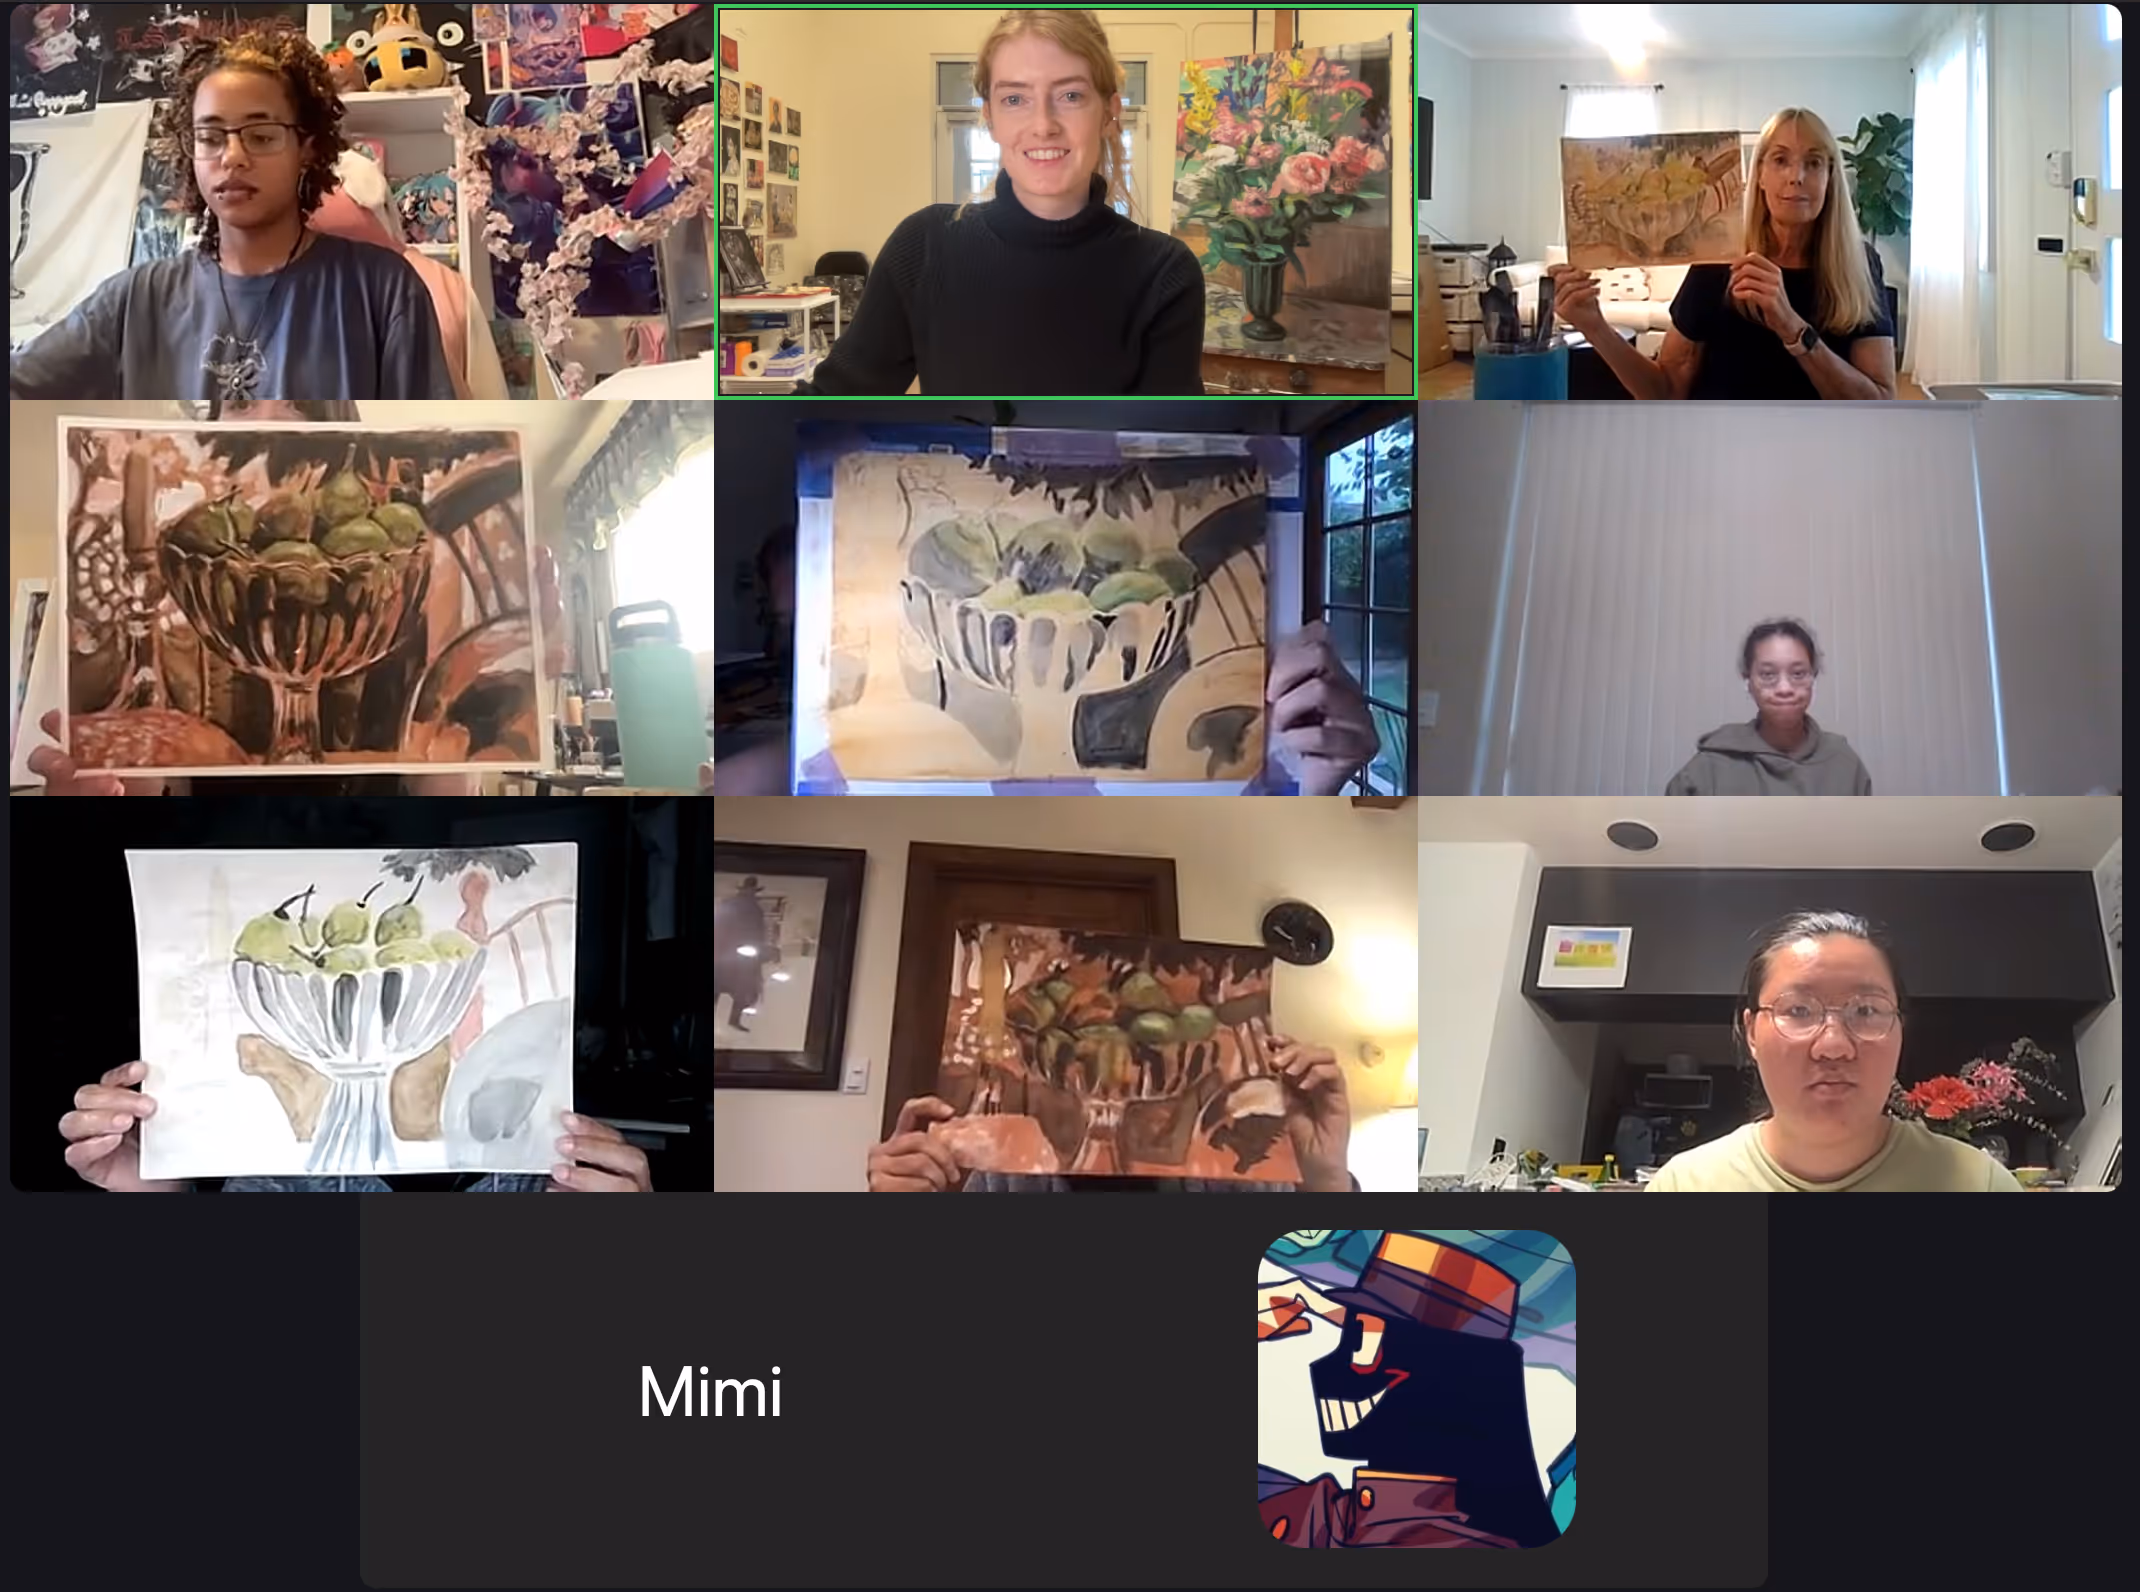
Continue painting on your tonal paper. Think strategically and thoughtfully about how you'll allow the color of the paper to remain in your piece. Your internal critic will try to tell you that so much brown, untouched paper will mean unfinished - but that's not necessarily true if you're using the brown in specific areas that coincide with the photo reference.
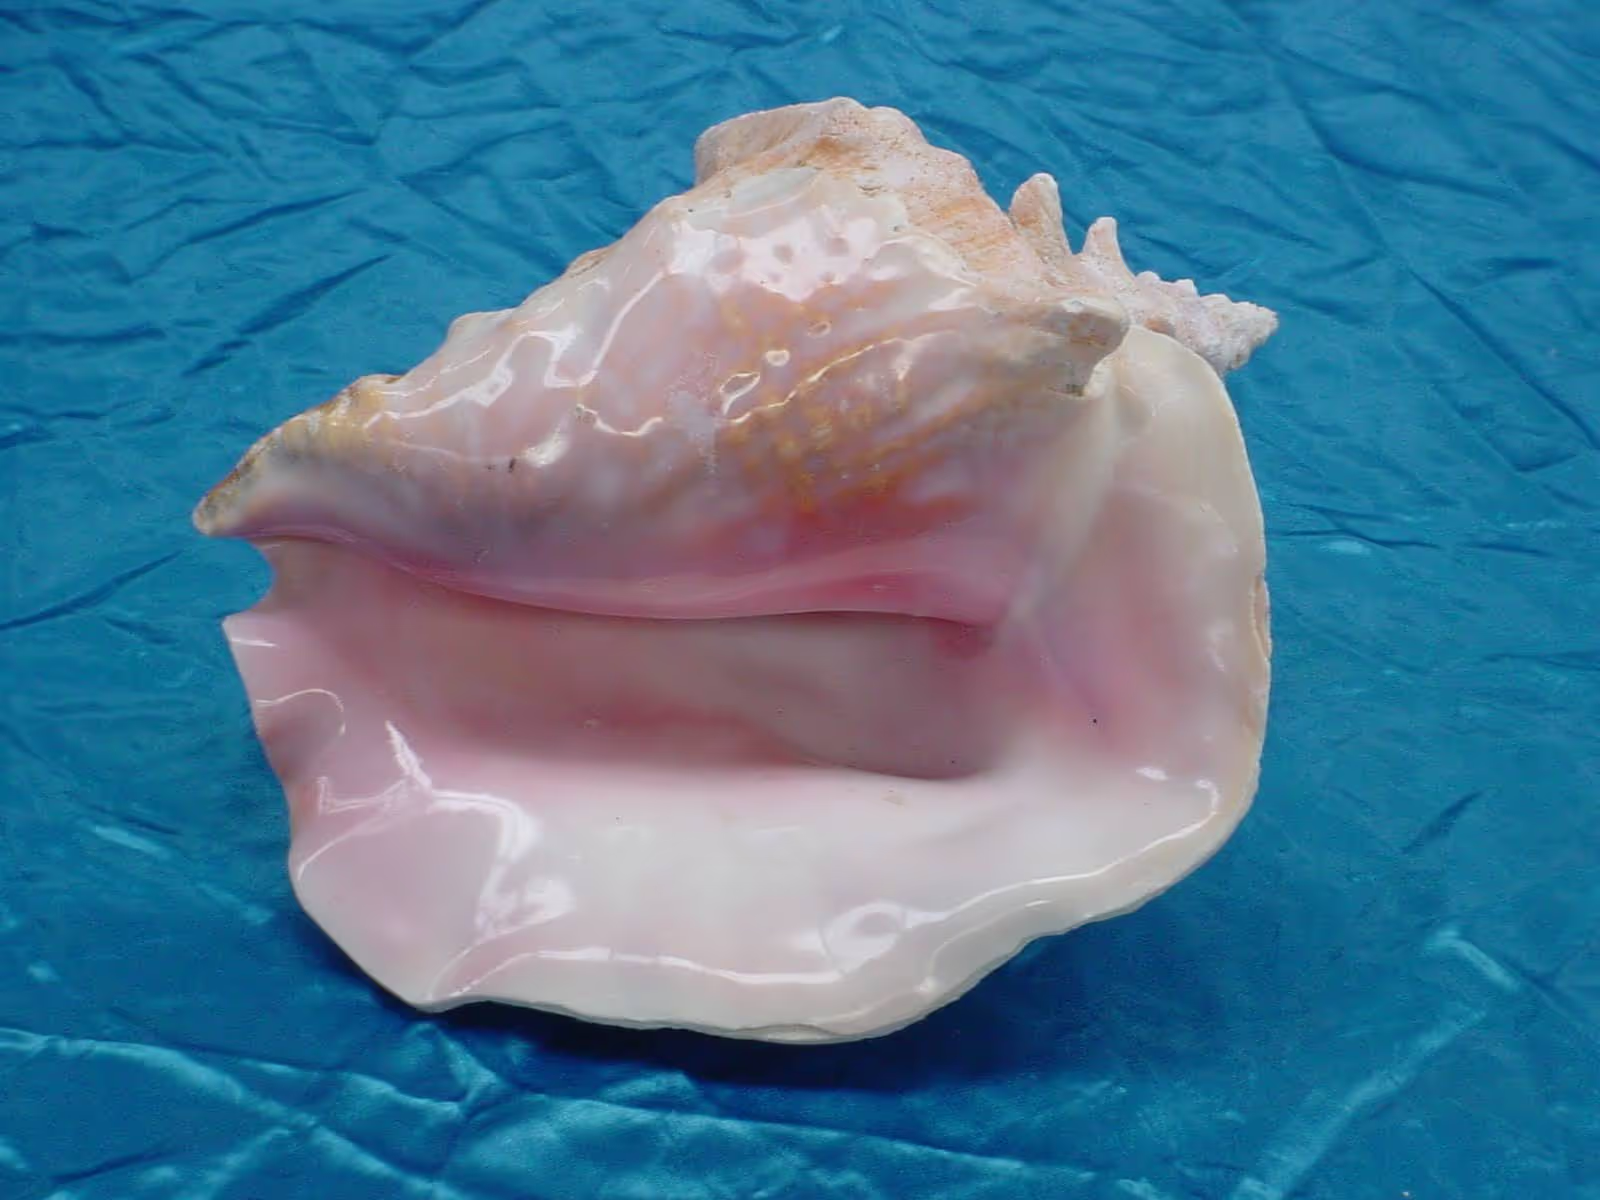
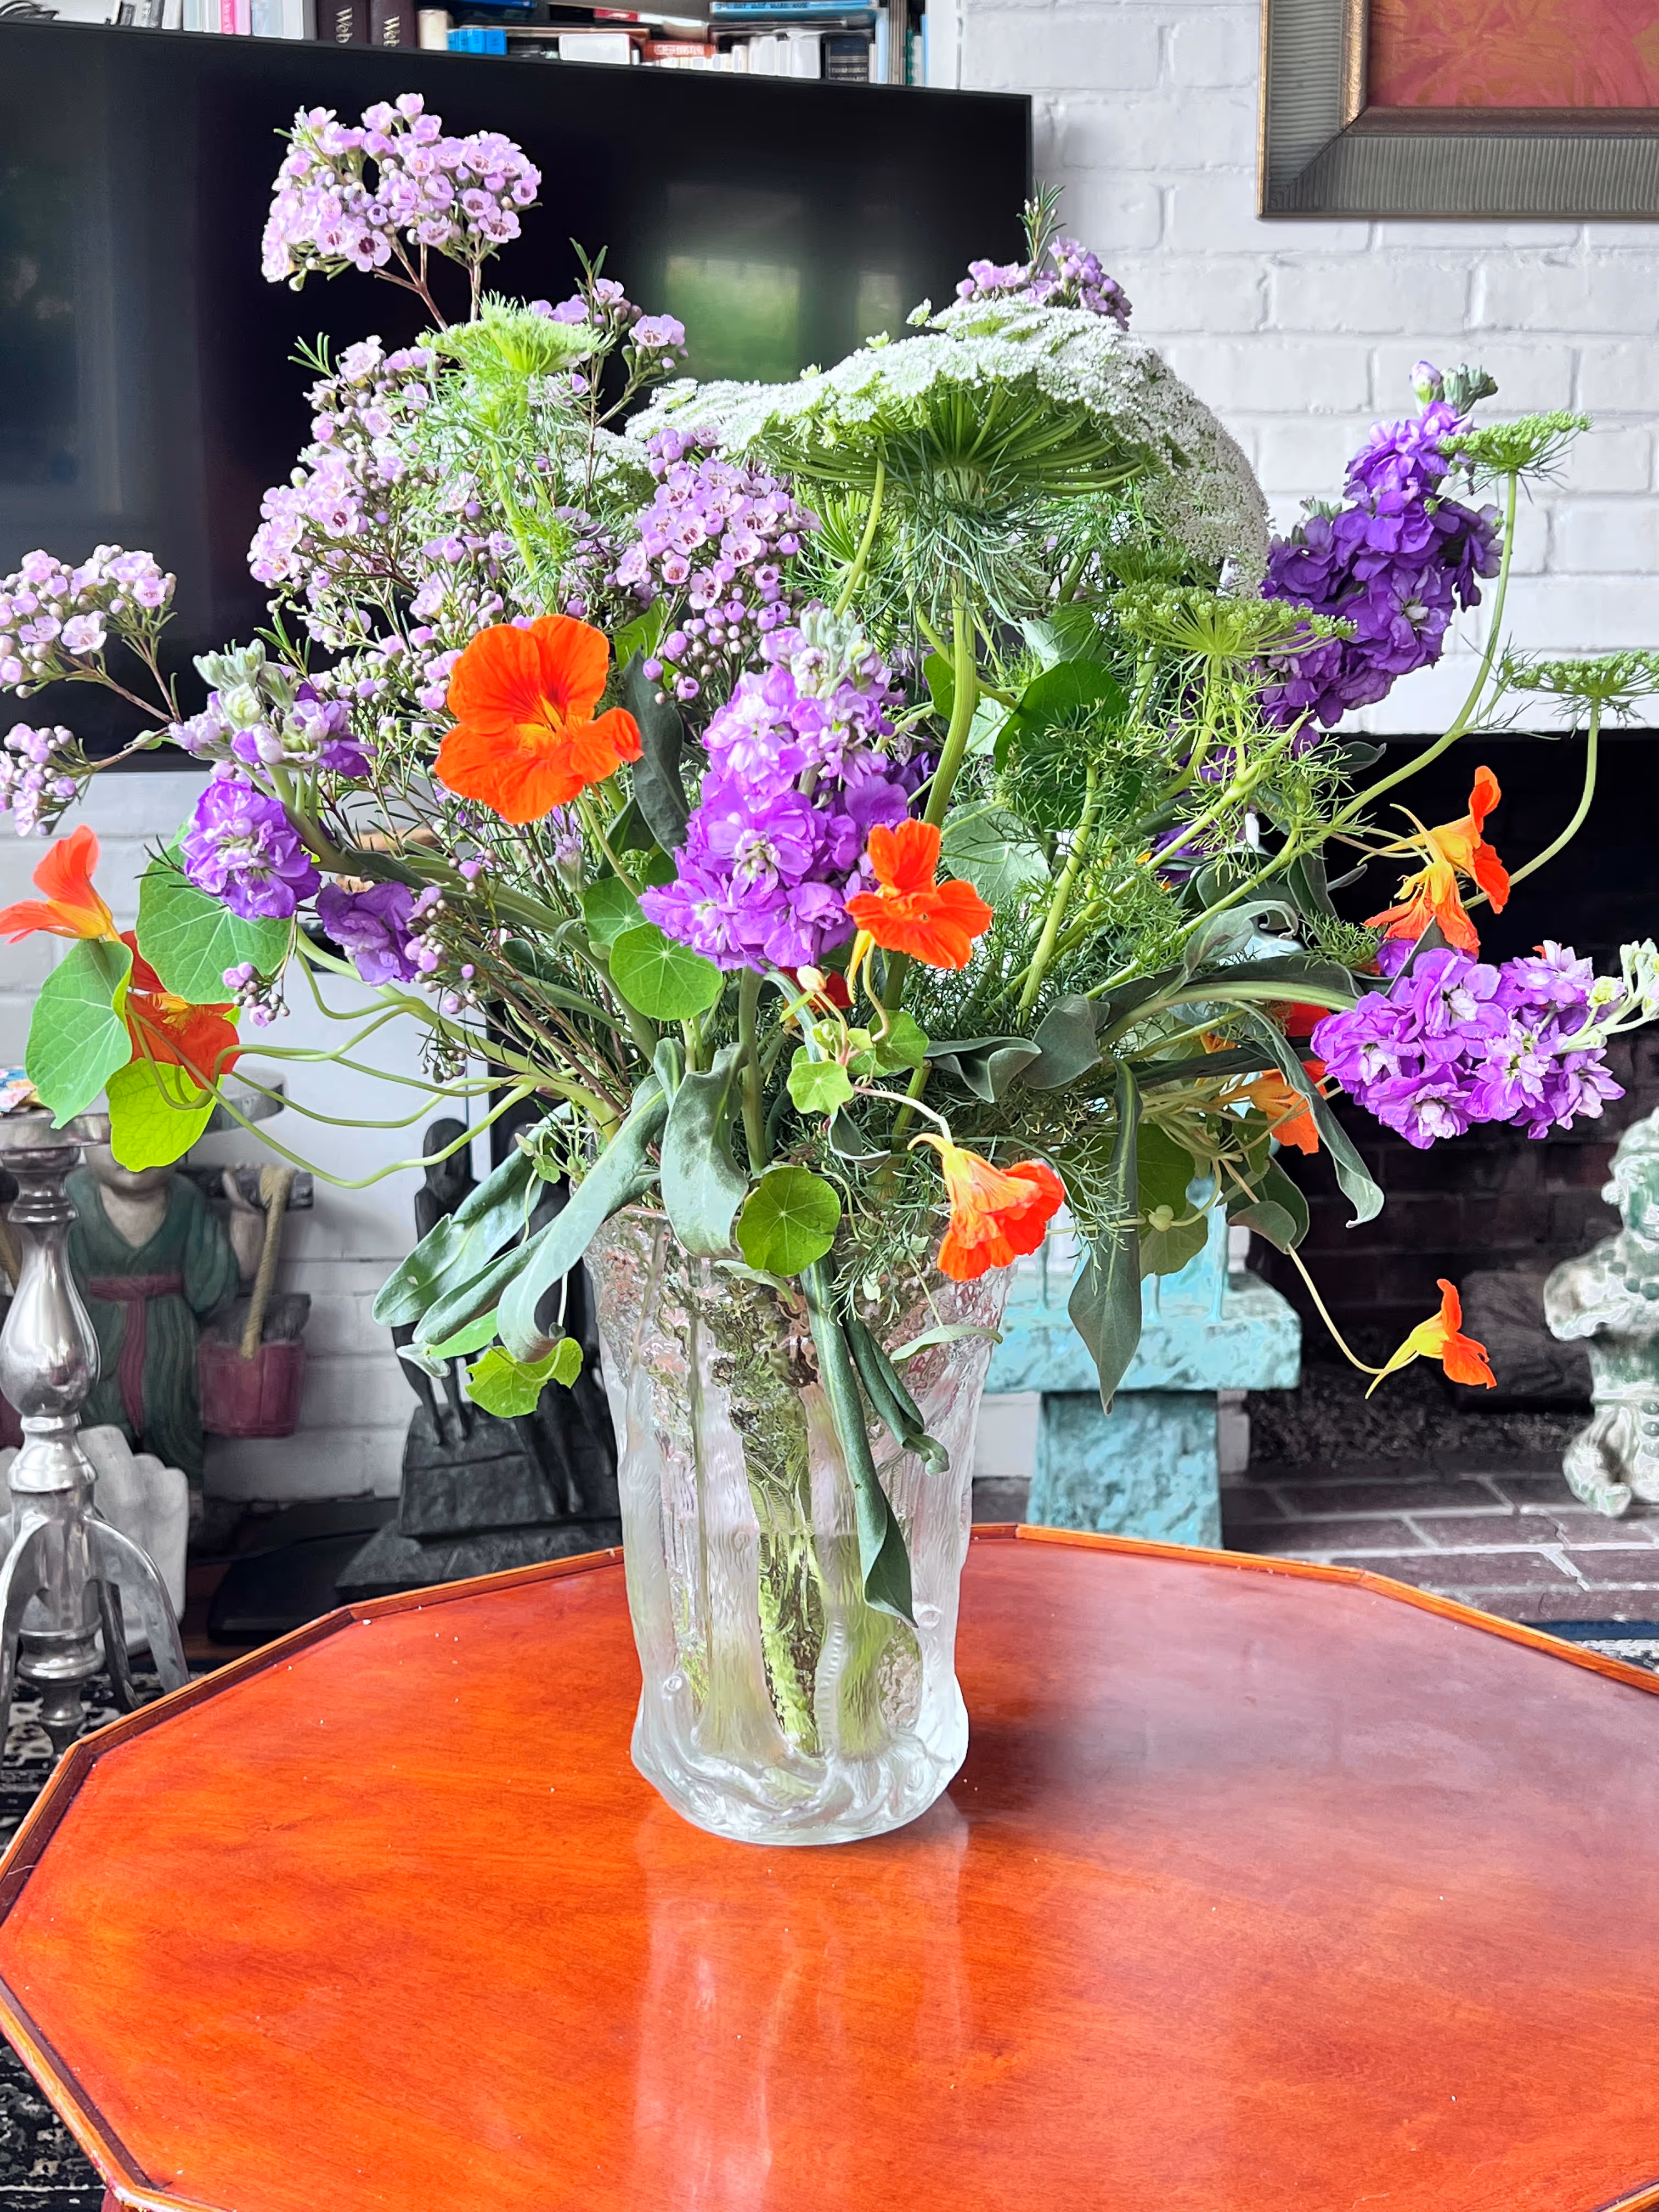
Figure out how to use it as a shortcut, figure out how to do less without losing the quality, three-dimensionality, and substance of the still life.
If you finish early and you don't feel comfortable with working on toned paper OR if you felt you painted over too much of the brown, do it again!
The best way to learn how to paint with watercolors is practice. Continue practicing the wet into wet technique. For your second (or third) piece, try painting quickly (20 minutes or less.) Set a timer. This will really help you let go of perfectionism and being attached to the outcome; instead, you'll experience freedom in your artwork which will allow you to enjoy the painting process even more. Because if you don't like the piece you worked on, all you have to do is grab a new piece of paper!
How to prepare for week 3:
Tone a piece of watercolor paper with mid-tone brown watercolors. Make your entire paper the same brown. Your background needs to be dry before class starts. If you paint your entire paper without stretching your watercolor paper first, it will curl and cockle. The article is linked on this page with step by step instructions.
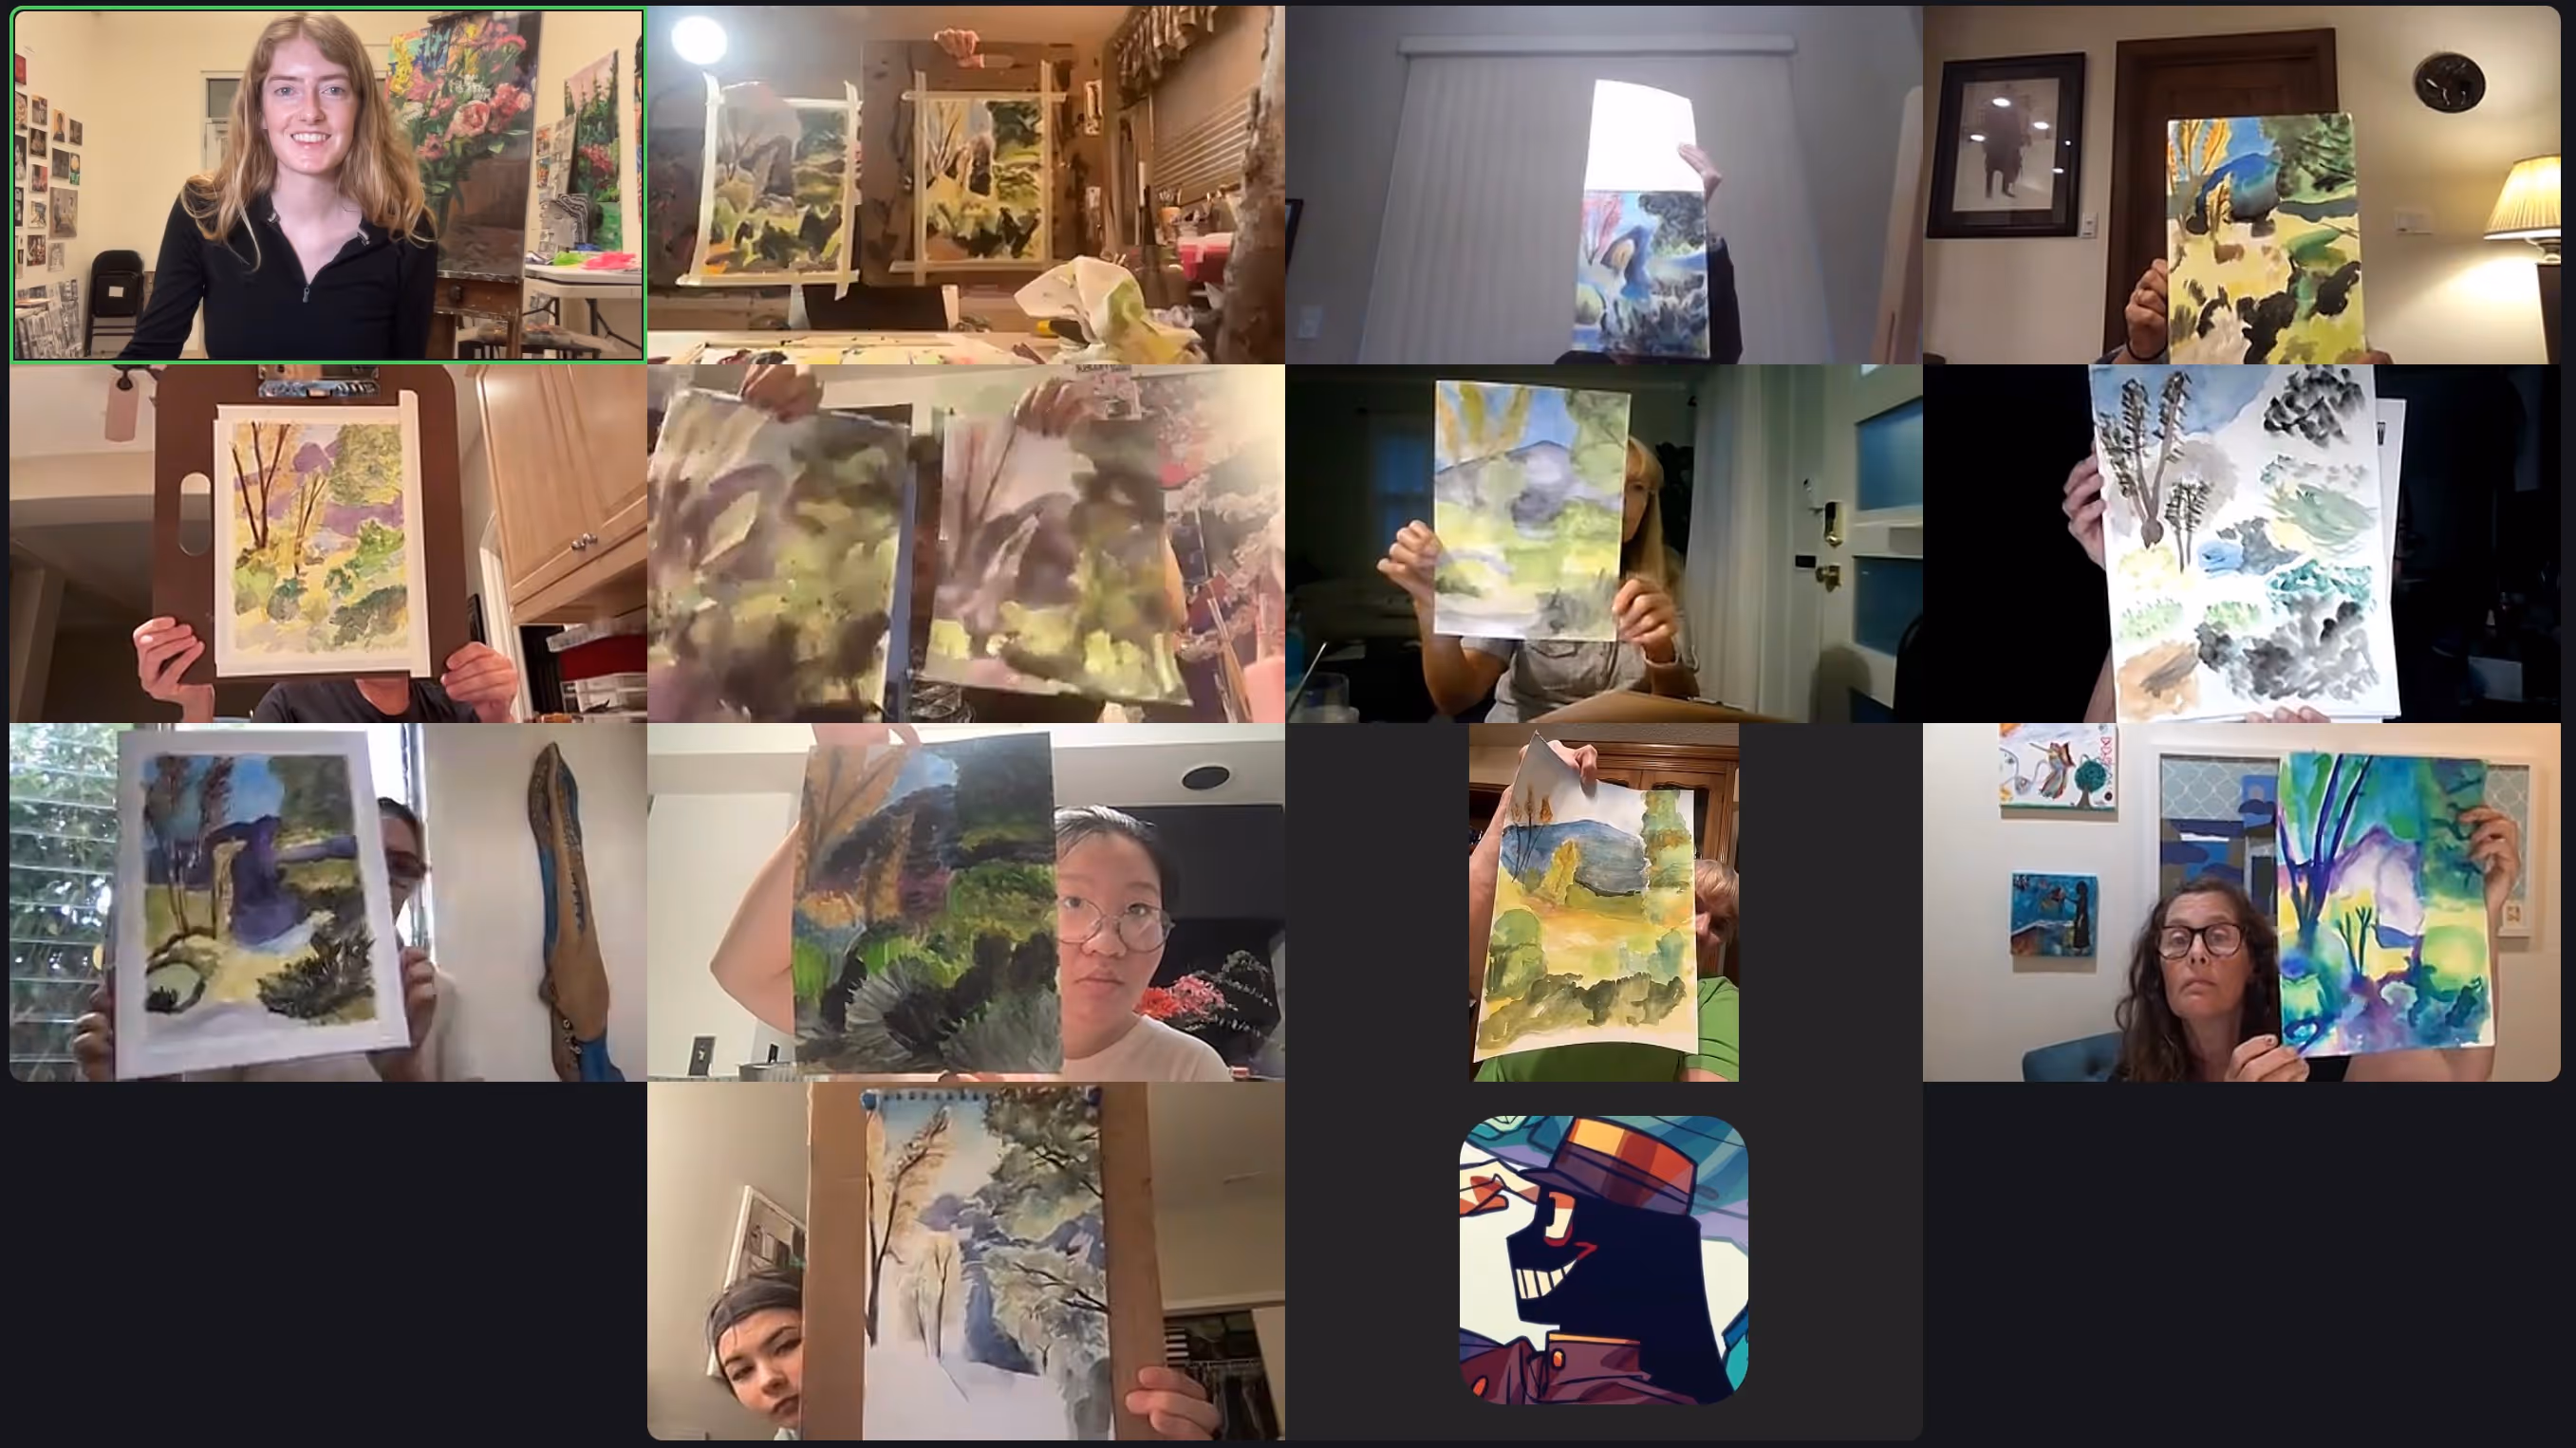
Want a closer look? Right-click and open in a new tab to view.
Click here to read how to stretch your watercolor paper. The end of the article describes how to flatten artwork that wasn't stretched beforehand.